The great thing about Marker Duke, Baron, and Tour bindings is that they come with an adhesive mounting template as shown below.


Once complete, I filled the old holes with a two part epoxy to ensure that water would not get down into the core.
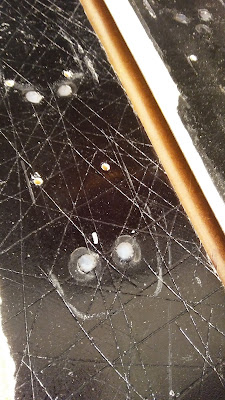

Prior to mounting the bindings, I filled each drill hole with a water resistant wood glue; epoxy will do the same job. The glue simply seals water out of the hole and helps keep the screw in place over time. You can mount the toe or heel part of the binding first, it doesn't matter. Just make sure the release mechanism operates properly once you've got it mounted. To install the toe screws you will have to have the binding in the engaged position for some and touring position for others.


Once the bindings are mounted you will have to adjust the binding properly for you boot. This is where I'm supposed to recommend you have this done at your local ski shop so they can properly test release of the boot. However, if you choose to do it yourself, Marker provides instructions. The DIN setting is simple; the toe piece (on the side) and heel piece (just behind the red indicator gage) each have a screw that adjusts the spring tension. There are many DIN calculators online.
Once the DIN is set you will want to adjust the toe plate. The Marker Duke, Baron, and Tour toe plates are adjustable to fit alpine or touring bindings. This is adjusted with a screw at the front of the toe piece as shown below. Marker provides a nice gage to ensure the toe piece is adjusted correctly. Simply place the folded gage between the boot and binding. adjust the gap until you can pull the gage out and expose the green check mark and not the red x. If you cannot pull it out at all, then it is too tight.


Finally, you will need to adjust the heel piece. This can be done when the boot is locked into the binding. Adjust the screw until it is flush with the binding as shown below. Make sure to release and lock the boot again to verify.


I am really looking forward to taking these new bindings out for a test run when PA finally gets some snow this year.


The mounting template gives you the boot/binding center for a range of boot sole lengths, so once you know your boot length you can line up the center of the template as necessary. At this point you should already have the proper Small or Large binding depending on your boot size. When finding the boot center location on the ski you have to make sure that the new pilot holes are not too close to past drill holes or you could tear out a screw or weaken the ski too much. Once you have mounted your template you will need to drill the holes.
Marker recommends a 9.5 mm deep hole with an unspecified diameter. A little internet research will point you to a 3.5mm or 3.6mm diameter bit unless you have a metal topsheet in which case a 4.1mm bit is recommended. In typical frugal engineer fashion, instead of buying a bit I decided to use a bit I had; 3.6mm is equal to 0.142 inches which is remarkably close to a 9/64 inch bit (0.141in). To get the 9.5mm depth I taped off the drill bit as shown below. Drill the five holes for the toe and four holes for the heel of each binding using the proper Small or Large pattern.


Once complete, I filled the old holes with a two part epoxy to ensure that water would not get down into the core.


Once the bindings are mounted you will have to adjust the binding properly for you boot. This is where I'm supposed to recommend you have this done at your local ski shop so they can properly test release of the boot. However, if you choose to do it yourself, Marker provides instructions. The DIN setting is simple; the toe piece (on the side) and heel piece (just behind the red indicator gage) each have a screw that adjusts the spring tension. There are many DIN calculators online.
Once the DIN is set you will want to adjust the toe plate. The Marker Duke, Baron, and Tour toe plates are adjustable to fit alpine or touring bindings. This is adjusted with a screw at the front of the toe piece as shown below. Marker provides a nice gage to ensure the toe piece is adjusted correctly. Simply place the folded gage between the boot and binding. adjust the gap until you can pull the gage out and expose the green check mark and not the red x. If you cannot pull it out at all, then it is too tight.


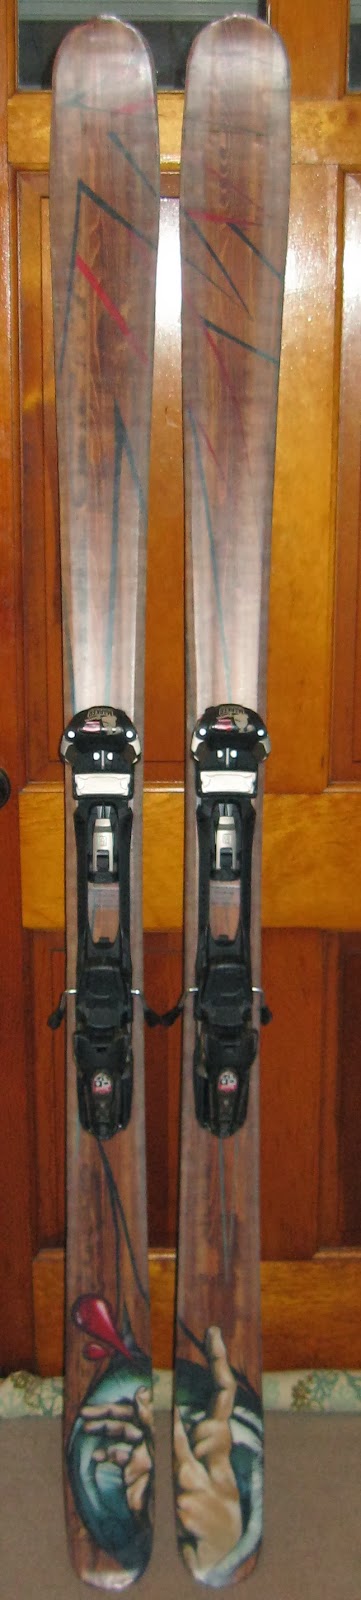
Finally, you will need to adjust the heel piece. This can be done when the boot is locked into the binding. Adjust the screw until it is flush with the binding as shown below. Make sure to release and lock the boot again to verify.




.jpg)


