Showing posts with label Reverse Mold. Show all posts

Saturday, June 16, 2012

Mold

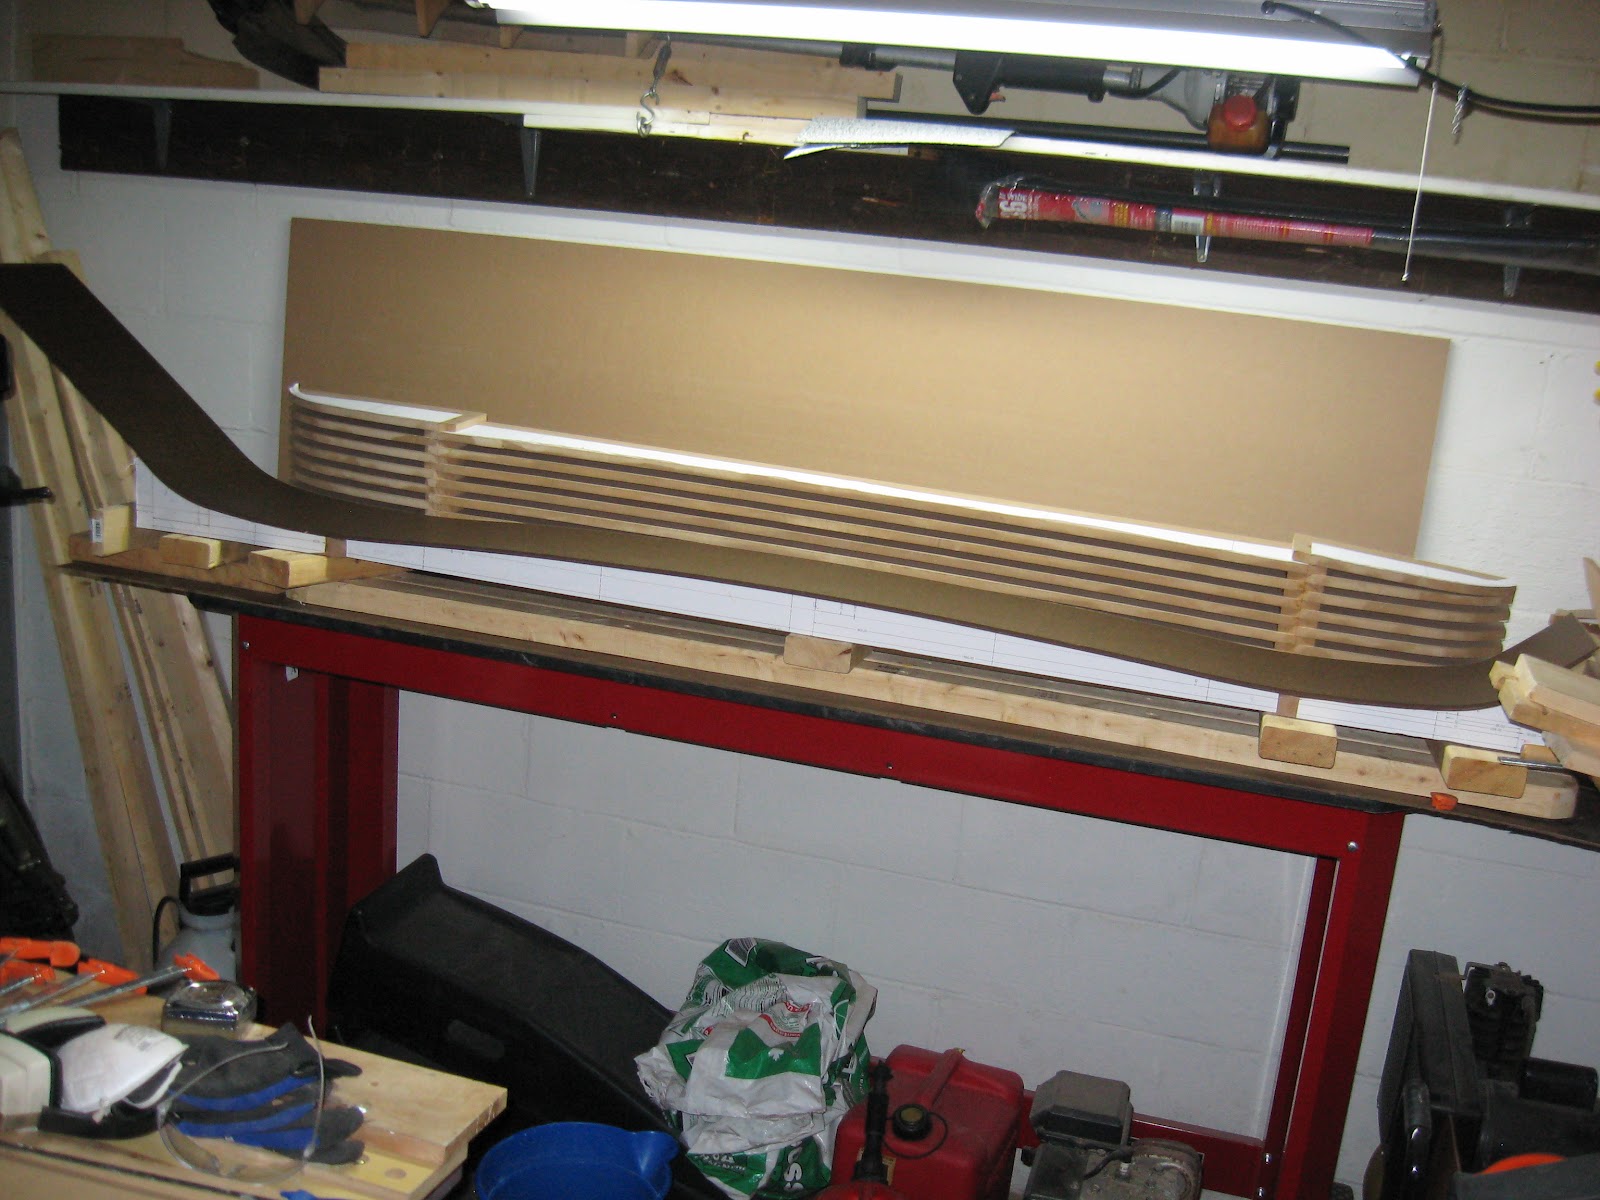
To create the ski mold this year I used a process similar to last year where I staggered 1/2 inch medium density fiberboard (MDF) and then glued two layers of 1/8" high density fiberboard (HDF) on top.  This year I decided to make the reverse mold at the same time as the ski mold.  I'm not sure why I didn't do this in the past, but I used the reject material from the mold to create the reverse mold.  Doing this allows one cut to create both halves of the mold.
 
To start the process, I pre-cut MDF rectangles for the tip, tail, and central portions of the mold.  The mold is 8.5" wide; therefore, nine (9) support members were cut for the tip and tail and eight (8) support members were cut for the central portion. Next, I took the template I printed earlier and cut it into tip, tail, and central pieces.  I then used spray glue to attach the templates to pre-cut MDF.

Once glued, the template was cut out with a jig saw.  This shape is then used to transfer the template to the other mold support members. Once all members arecut, I clamped like members together and sanded them as one to create a uniform surface.

When all members are sanded, they are glued and clamped together.  This is done for both the mold and reverse mold.


When the glue is dry, the entire mold is sanded again to ensure there is smooth transition between all pieces.  Once sanded and wiped down (to remove sawdust), the 2 sheets of HDF are glued to the mold.  The reverse mold is used to press the sheets onto the mold.  In order to protect the mold surface and provide even pressure, a blanket was placed between the halves before clamping.  The process is repeated for the reverse mold.


 When dry, the extra HDF material is cut from the ends of the mold and end caps are fashioned to reinforce the mold and provide a smooth surface for the air bladder to bear against.  Note, the reverse mold end cap was made prior to the application of the HDF to the surface.


The tail radius of curvature was a bit too small for the HDF and it cracked.  To fix this, I sanded the crack down and filled it with wood filler.  This created a smooth surface for the ski to be molded against.


The final step is place a scribe line at the center of the mold and then nail scrap edge material in place. To do this, the ski base was placed on the mold and the scrap edge material was nailed along side it. When the base is placed on the mold for pressing, the edges are used to center it and prevent it from moving forward or aft.
 
The mold and reverse mold are now ready for use.


Wednesday, September 21, 2011

Inverse Mold

The inverse or reverse mold is used to take up space in the ski press so that the bladder is evenly distributed over the ski.  The picture below shows an example of a pressurized ski press with the mold on the bottom, ski and bladder in the middle, and inverse mold on the top.

The inverse mold can be made in any number of ways and does not have to be precise as it does not mold the ski, but takes up space. This year I made my inverse molds from 2x4 lumber.  To start the inverse mold I traced the shape of the mold onto a piece of the lumber.


 The lumber is then cut to length with a chop saw and to shape using a jig saw or band saw and screwed together.


After some finish sanding the inverse mold is ready for use.  To prevent damage to the bladder you can place a cloth in between the bladder and inverse mold, glue cardboard to the underside of the mold, or glue another piece of hardboard to the mold to make it smooth.