Showing posts with label rubber. Show all posts

Friday, September 13, 2013

Layer Prep

To get the ski ready to press, the edges, base, fiberglass, rubber, and top sheet must be prepared.  This year I purchased clear base material which will allow me to put some graphics on the bottom of the ski.  A razor blade and the base template are used to cut the base material to size.


 The edges are clamped in place and temporarily attached using super glue.


The image below illustrates the opacity of the base material.  When epoxy is applied, the material will become more clear.  The edges, black rubber, graphics, and core design will show clearly.


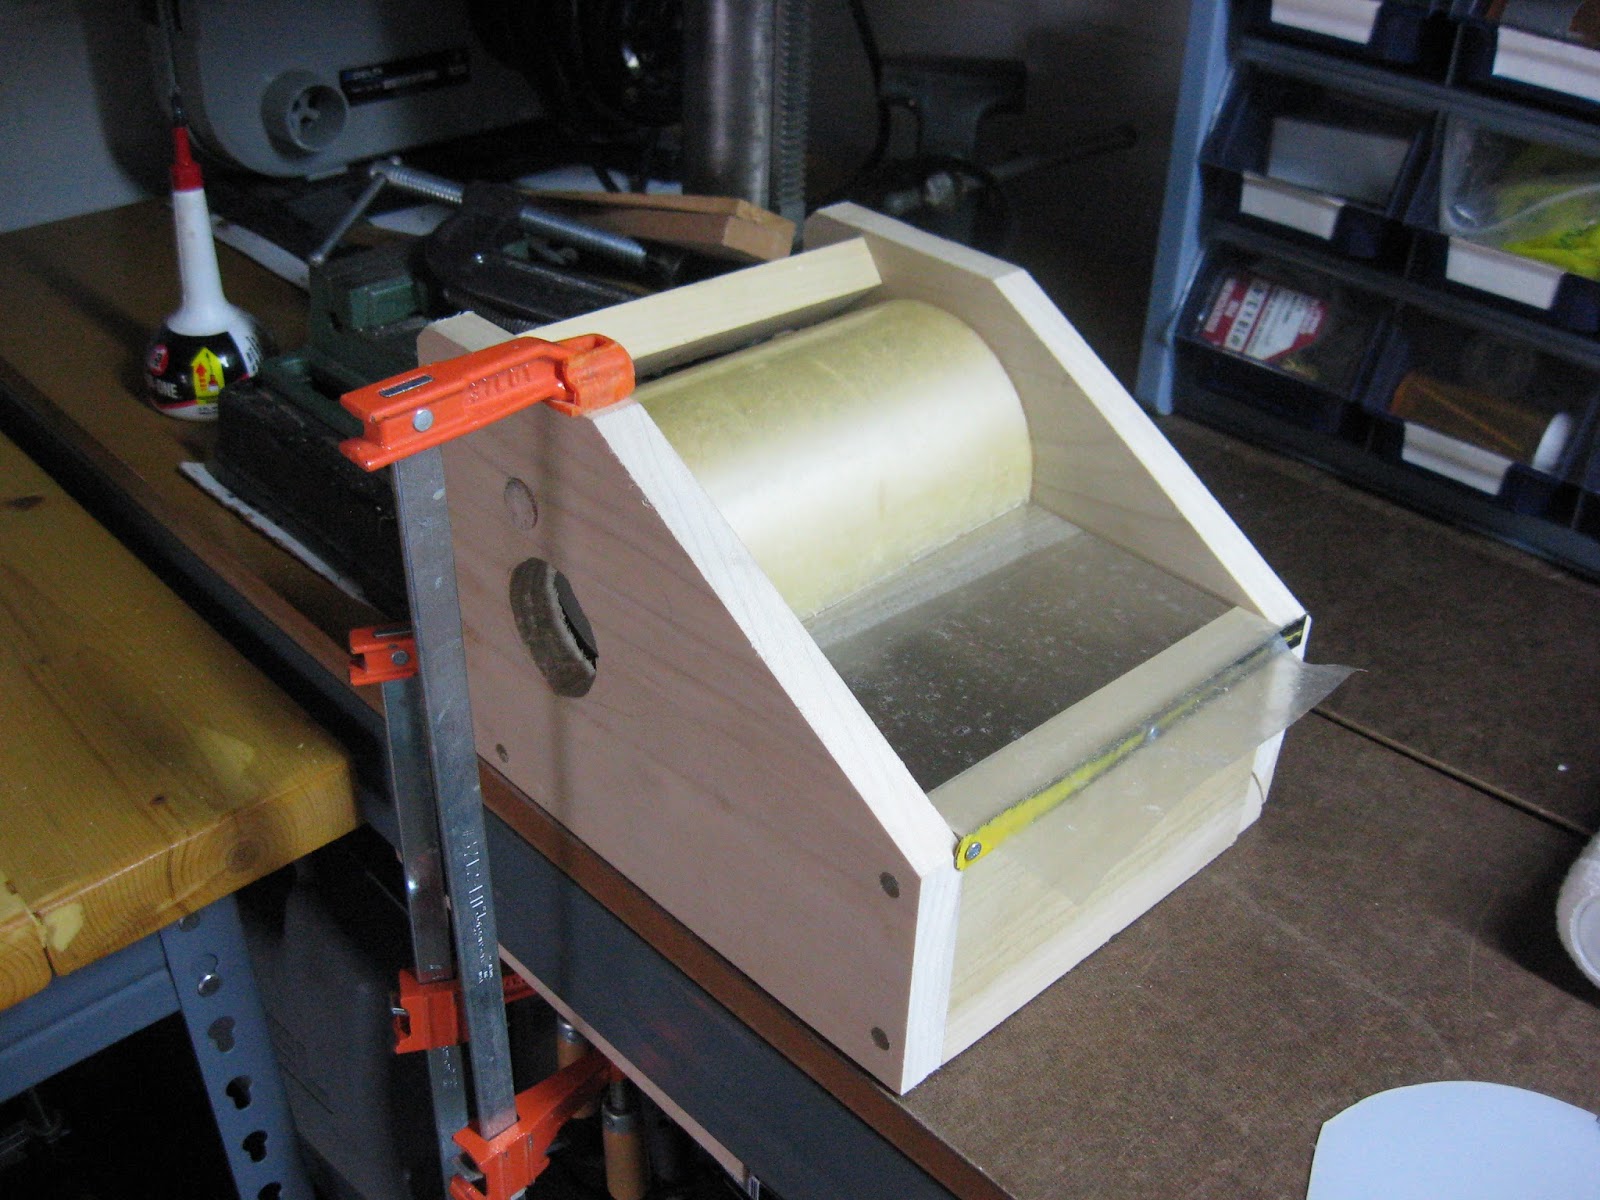
In order to protect the base from epoxy and damage, tape is applied.  This year I purchased 6" wide label tape from McMaster-Carr.  In past years I have used both contact paper and packing tape which both have their difficulties. Packing tape is applied in strips, and any overlap will leave minor depressions in the base material.  Contact paper uniformly covered the base, but was hard to apply and remove. This tape was by far the easiest to apply out of anything I used.  I built a tape dispenser to help me apply the tape to the base.


Once the tape was stretched out, a paint roller was used to evenly apply the tape to the base.  Because there was tension in the tape during application, there were no creases or bubbles.


The extra tape was then trimmed using a razor blade.

The top sheet, made from p-tex, is also clear and was cut in half and covered in tape similar to the base material.

Rubber is placed between the steel edge and fiberglass layer in order to prevent delamination due to shear between layers. The rubber comes in a roll and was simply cut into four pieces.


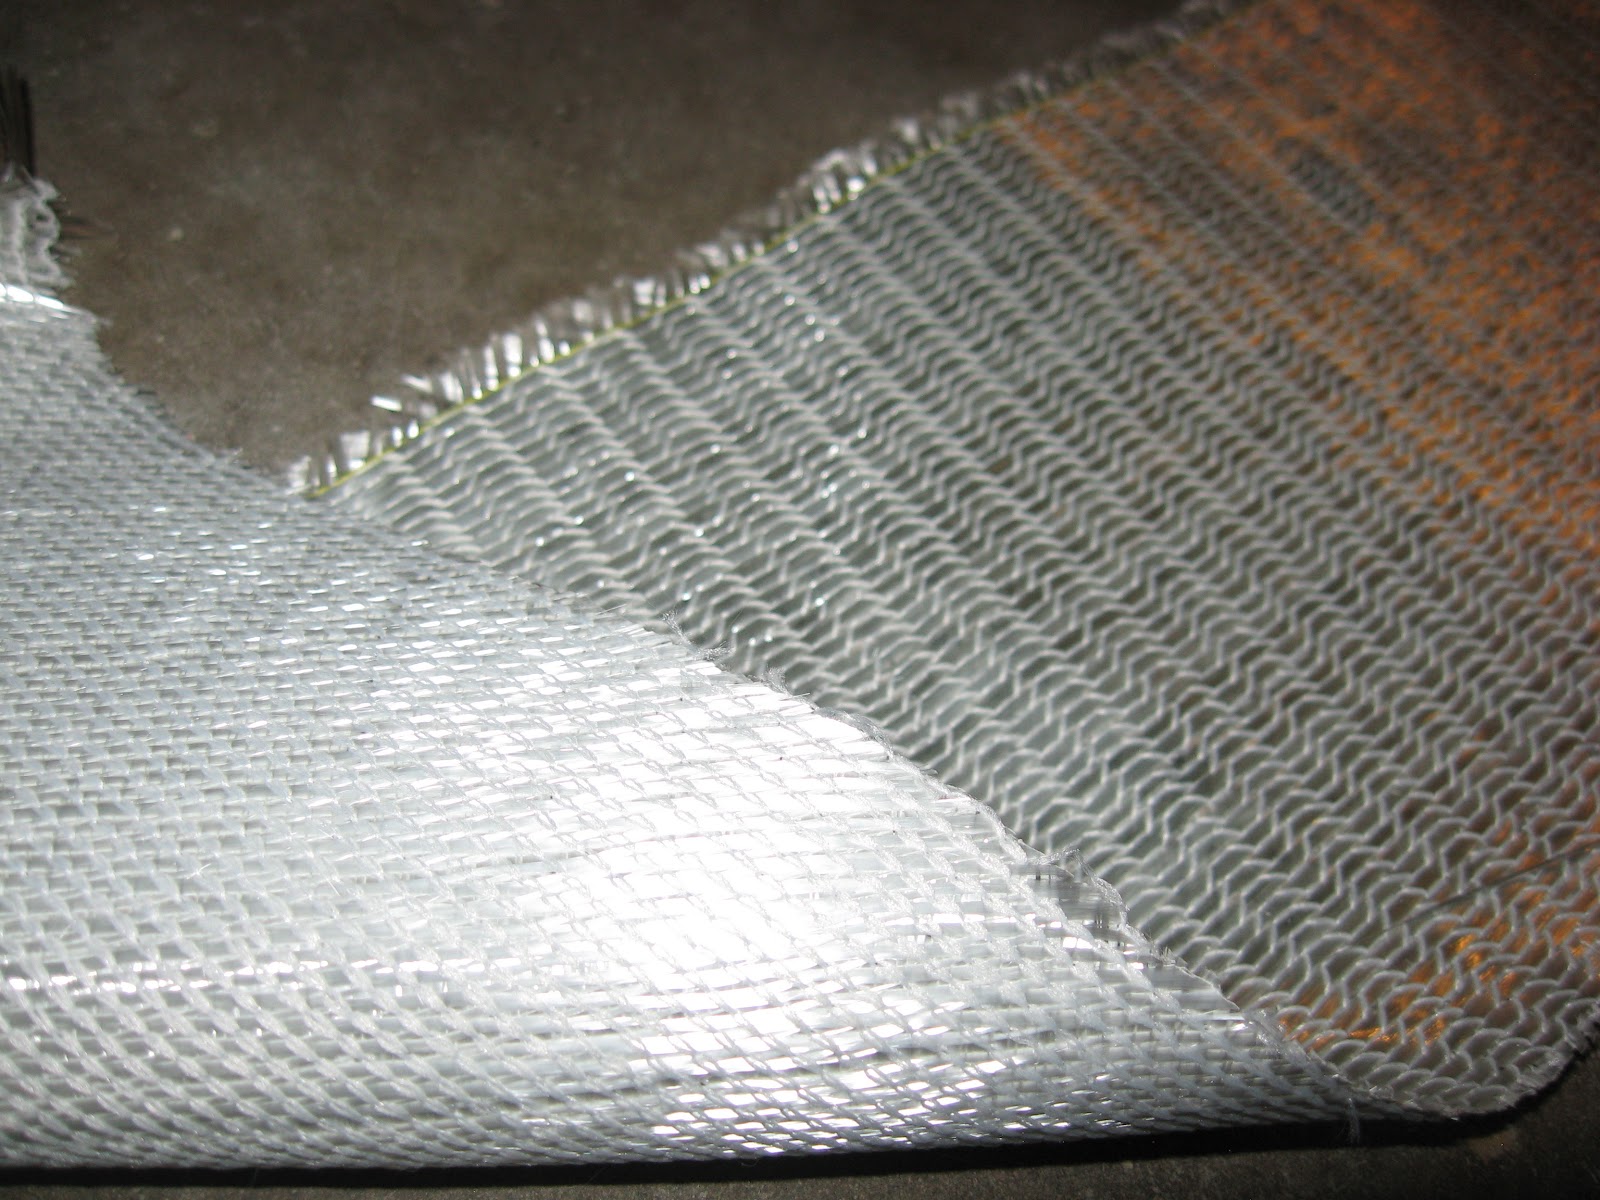
There is a fiberglass later between the base and core and between the core and top sheet.  The fiberglass on the base is 19 oz with a tri-axial weave (45, 90, and 135 degrees).


I did not purchase new fiberglass for the top of the core, but used some old bi-axial fiberglass (0 and 90 degrees).  Rather than covering the entire top of the ski, which adds considerable weight, only the edges will be covered.  This strip of fiberglass was cut into four pieces.


The ski is nearly ready to enter press stage one; however, graphics will be applied to the core prior to pressing.

Saturday, September 8, 2012

Press Stage 1

The skis I am designing this year use a cap rather than a sidewall.  Eliminating the vertical side wall creates a lighter ski with no reduction in strength or stiffness in addition to a ski that is less susceptible to top sheet damage.  In order to create a cap I have to press the ski in two stages.  The first stage attaches the base, edges, rubber foil, and fiberglass to the core.  Once these are connected, the flashing is trimmed and the sidewall is beveled to 30 degrees from vertical.

The first step is to attach mounting hardware to the core; this will ensure the core doesn't shift during pressing.  This is done by super gluing blocks on either side of the center line and drilling a hole through each block into the mold.  This allows a nail to be passed through into the mold.  The base is held in place by the fixture already attached to the mold.


A piece of plastic (2 mils thick) is cut to place between the ski and the mold.  This prevents excess epoxy from sticking to the mold.
 

The base is placed on the mold using a pre-attached alignment guide.  This guide is made from excess edge material and prevents the base from shifting forward or backward.

 
Once this is done, all material is staged.  This includes the fiberglass, rubber, core, base, reverse mold, and bladder.  The air compressor is also charged so that it will be ready to inflate the bladder.  At this time, I mix 1.25 cups of epoxy.  I use a west system two part epoxy (105 resin, 206 hardener) to make my skis.  Marine supply stores such as www.go2marine.com are great places to get epoxy.  http://www.go2marine.com/product/97792F/slow-epoxy-hardener-206.html
 

Once staged, the epoxy is applied to the base, rubber, fiberglass, and bottom of the core using a foam brush.


The press is then pressurized to 23 psi.  The pressure is checked periodically to ensure the pressure is maintained.  The epoxy has a pot life of 20-25 minutes and is hard within an hour.  The ski will remain in the press for roughly 12 hours to ensure the epoxy is fully cured.


 Once cured, the ski is removed from the press.


After the skis are removed, a jigsaw is used to trim the flashing from the edges.  The saw was set to a 30 degree angle and the cut was made from the bottom of the ski, using the edge as a guide.  This year the wood at the edge of the ski is aspen, which is a softer, lighter hardwood; this wood allowed the skis to be trimmed faster than in years past.


Once trimmed, the edges are sanded smooth with an 80 grit belt sander.

 
Typically, I would round the sidewall into the top of the ski to remove the sharp edge and allow the top sheet to easily bend over the ski.  This year I am adding "rails" to the top of the ski to add additional stiffness and will round the top of the rail.


Sunday, July 1, 2012

Layer Preparation

In order to press the ski, all the ski layers must be prepared.  This includes fiberglass, rubber foil, and the p-tex top sheet.

VDS Rubber foil is placed between the metal edge and the fiberglass in order to prevent delamination.  Additionally, the rubber provides a small amount of vibration damping to the ski.  The rubber is purchased as a 50mm wide strip and must be cut into four 6'3" lengths that are 25 mm wide.  This is done easily using scissors.

19 oz triaxial braided fiberglass was chosen to reinforce the ski.  The fiberglass will be placed between the base and core and a second layer between the core and top sheet.  The fiberglass is woven in three directions, parallel to the ski, and then two sets of strands +/-45 degrees from parallel.  The parallel strands add strength to the ski flex and the +/- 45 degree strands provide torsional strength.  The fiberglass is purchased in a 25 inch wide sheet.


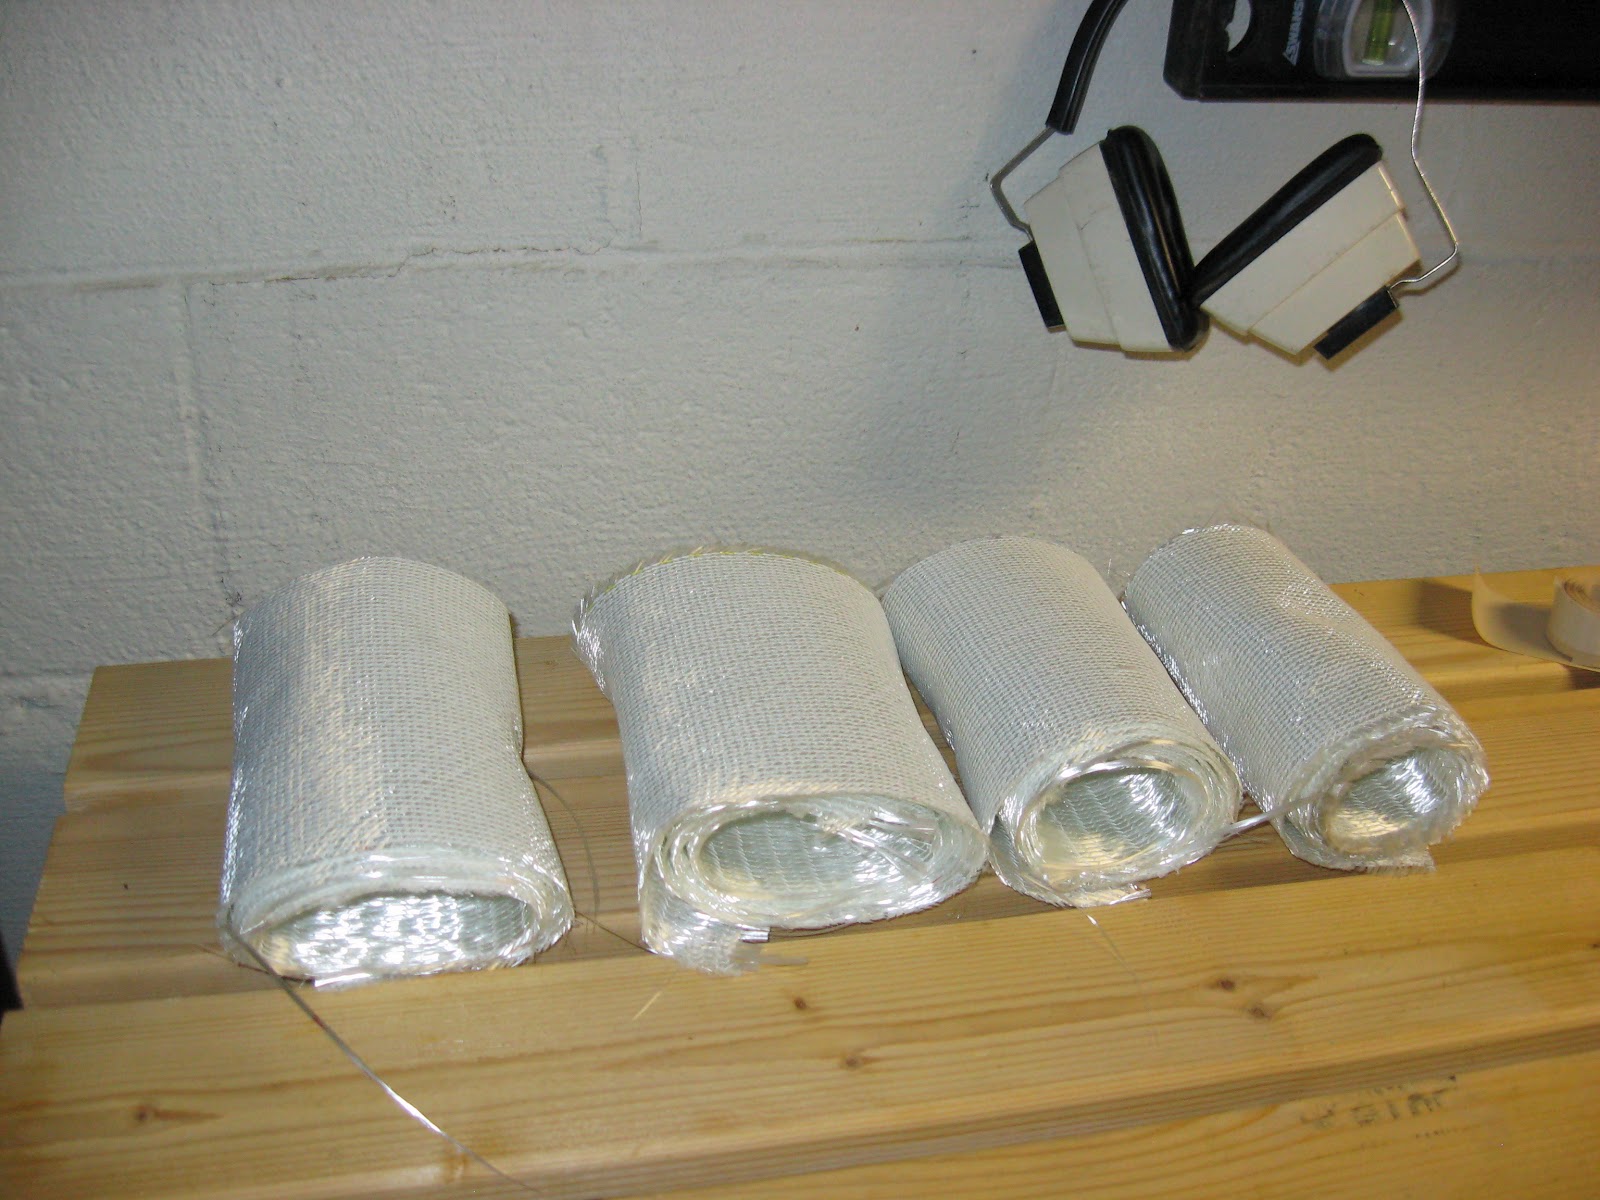
The fiberglass is measured, marked with a permanent marker, and cut into four 6.25 inch wide strips using a good pair of scissors.


The fiberglass is now ready for pressing and can be rolled up for storage until then.

The final layer to prepare is the clear p-tex top sheet.  The top sheet that I am using was left over from last year and therefore was already to cut to size.

 I covered the top sheet with contact paper in order to prevent epoxy from sticking to it during the pressing process.


All layers, other than the graphics layer, are now ready for pressing.


Friday, October 14, 2011

Press, Stage One

Depending on the design of your skis and your ability to precisely machine the shape of the ski, pressing the ski can be done in a single stage or in multiple.  The first skis I designed had plastic sidewalls and they were pressed in a single stage. 


Adding a plastic side wall gives the ski a clean look and will protect the core from damage.  They add expense and time to the design as they have to be attached with epoxy to the core.  The plastic used for the sidewall (P-tex) is more dense than wood and has a lower modulus of elasticity (much more flexible) and therefore adds weight to the ski without adding strength.

The cap design is simpler and doesn't require that a plastic sidewall be used.  The core is beveled on the edges and the top sheet is wrapped down over the edge of the the core.  This design reduces the weight of the ski because beveling the core removes material.  Beveling the edges does not compromise the strength of the ski because when the ski is used to make a turn, force is applied at the edge of the ski and is reacted by the boot/binding.  The bending stress across the cross section is smallest at the edge of the ski and increases linear towards the boot mounting point.


The complication that this design adds is that the core must be beveled to allow a cap to be used.  Since I do not have the ability to precisely machine the core to the size of the base, I use a two-stage pressing process.  In the first stage, the base, edges, fiberglass, rubber and core are molded together.  Once pressed, the flashing is trimmed off and the core is beveled precisely using the edge of the ski as a guide. In the second stage the second fiberglass layer, graphics, and top sheet are pressed to the stage one press group.

One of the key steps in pressing the ski is to get the base and the core properly aligned.  In order to do this, I constructed a jig for the mold using ski edging which would precisely align the base and edges.


In order to align the core I glue two pre-drilled blocks of wood to the side of the core at the centerline.  Prior to final layup, I align the core to the base on the mold and drill alignment holes through the predrilled blocks of wood.  Finish nails will be place through the hole in the block of wood on the core and into the holes in the mold for alignment.  A more complex and repeatable method could be designed for this process, but I have low volume production and this method works well.


Once the alignment pieces are attached to the core and a test alignment has been completed, all of the components of the ski need to be staged for layup.  First, a piece of thin plastic is placed on the mold; this is used to prevent extra epoxy from sticking to the mold and ruining it.  The base and edges are then put in place.  The core, fiberglass, and rubber strips are then staged near the mold.  A foam brush is also staged for spreading the epoxy.  The reverse mold, air bladder, and air compressor must also be staged.


Once the components are stage, the expoxy needs to be mixed.  This year I used West System epoxy.  The hardener I chose, 206, is used for a slow cure time.  The usable time is anywhere from 30-45 minutes with this epoxy.  After this time the epoxy starts to harden. At 9-12 hours the epoxy reaches full hardness and reaches full strength by 24 hours.  I always recommend rubber gloves (chemical resistant) and safety glasses.  A well ventilated area is also recommended.


Once the epoxy is mixed it is time to apply it to the ski and place the ski in the press.  The following video is shown at 12X speed and demonstrates this process.


I typically leave the skis in the press for at least 12 hours. Once this time period is passed you can remove the ski from the press.  The ski after pressing looks like the  following:


The following photo illustrates the shape of the ski after molding.  Since the ski is pressed into shape, stress is locked into the wood and will cause the ski to spring back a small amount when it is removed from the mold.  To compensate for this, the mold must exagerate the shape of the ski.  For the Arlia's shown below, the camber on the mold was designed at 30mm expecting a final camber of 15mm.  A measurement after removal from the mold showed a camber of 14mm.


The next step is to trim the flashing (http://en.wikipedia.org/wiki/Molding_flash) from the ski.  This can be done with a band saw, router, or jig saw.  Since my band saw is out of comission this season, I used my jig saw.  In order to save a step I set the jig saw to a 30 degree angle and cut the bevel of the core at the same time.


Trimming the flashing is one of the more difficult processes because it is time consuming and the cutting tool wears out quickly.  The jig saw blade cuts through epoxy, fiberglass, and the wood core;  at the same time the edge of the ski is used as a guide.  All these factors cause the blade to build up heat quickly.  After every six inches of cut, the blade had to be cooled, otherwise it would overheat causing the metal to soften and the teeth to wear more quickly.  A coarse tooth, quick cutting blade is reccomended over a fine tooth blade (clean cutting) as it will cut quicker and last longer.


Once the flashing is trimmed and the bevel is created, a belt sander is used to even out any flaws in the cut and create a rounded edge where the bevel meets the top of the ski.

Once this is complete the ski is ready for stage two pressing.