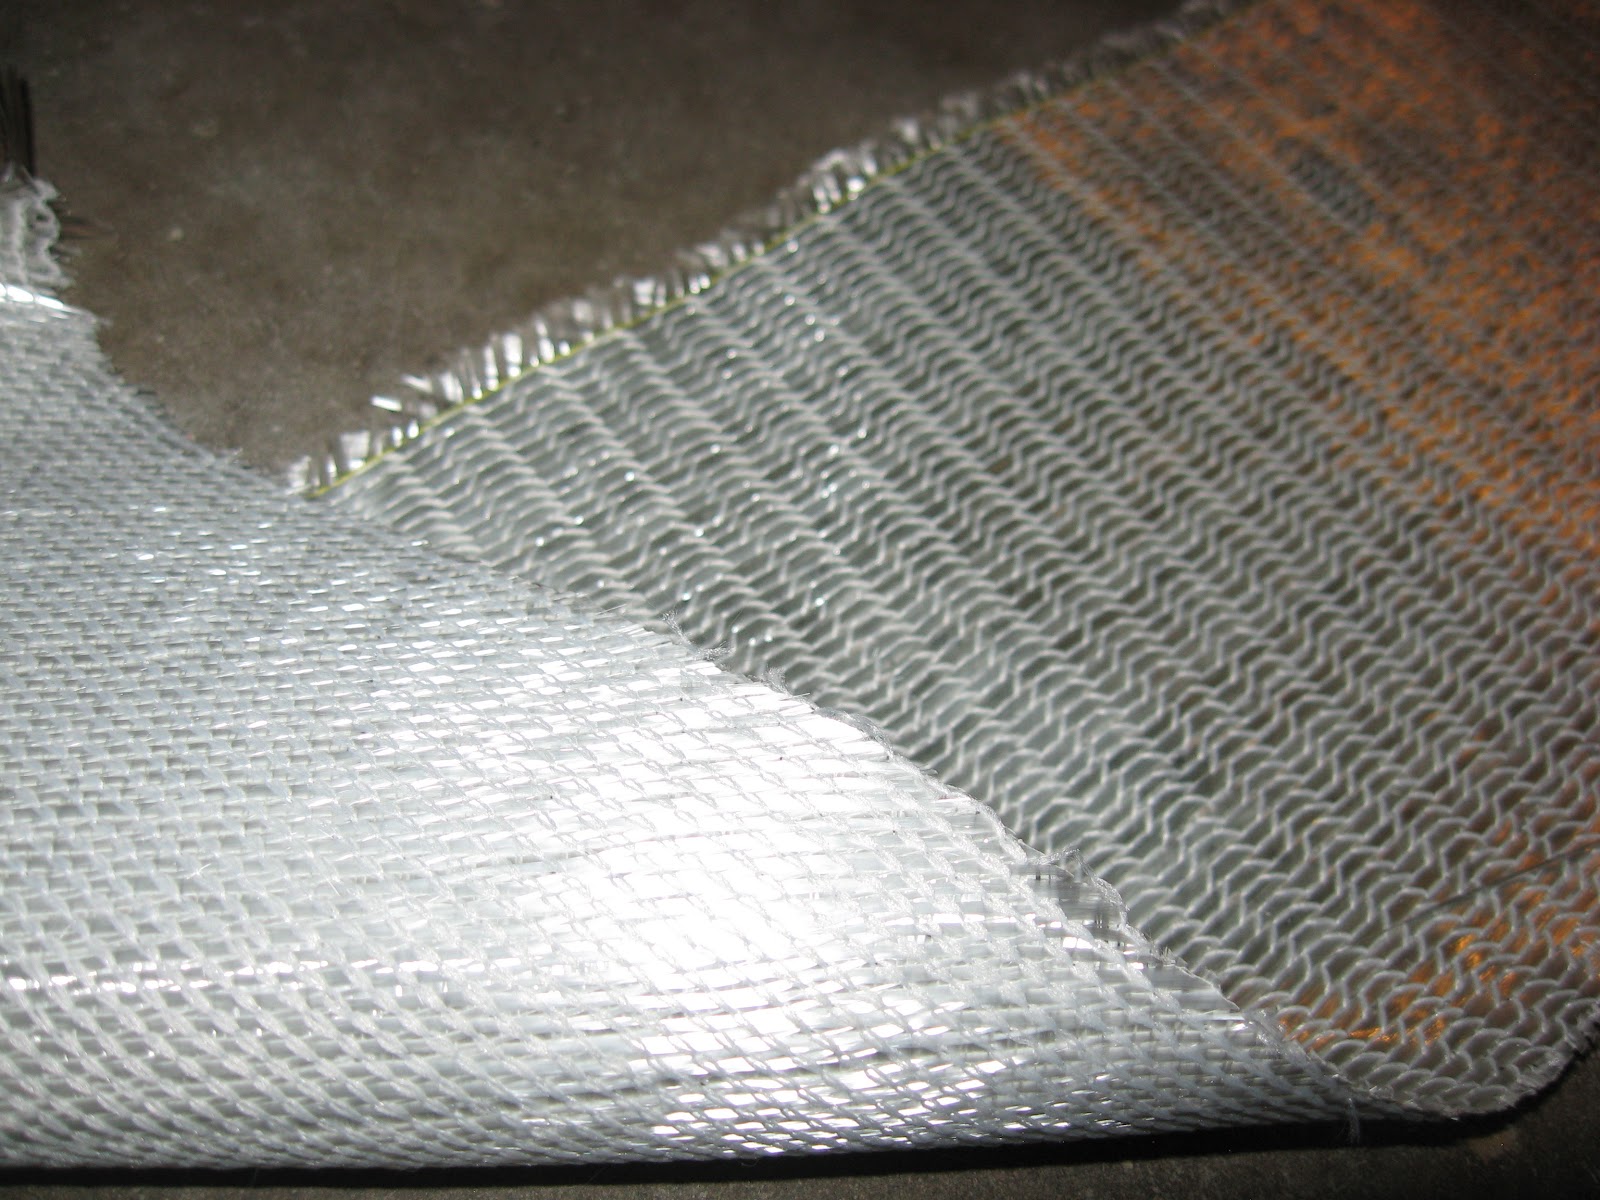
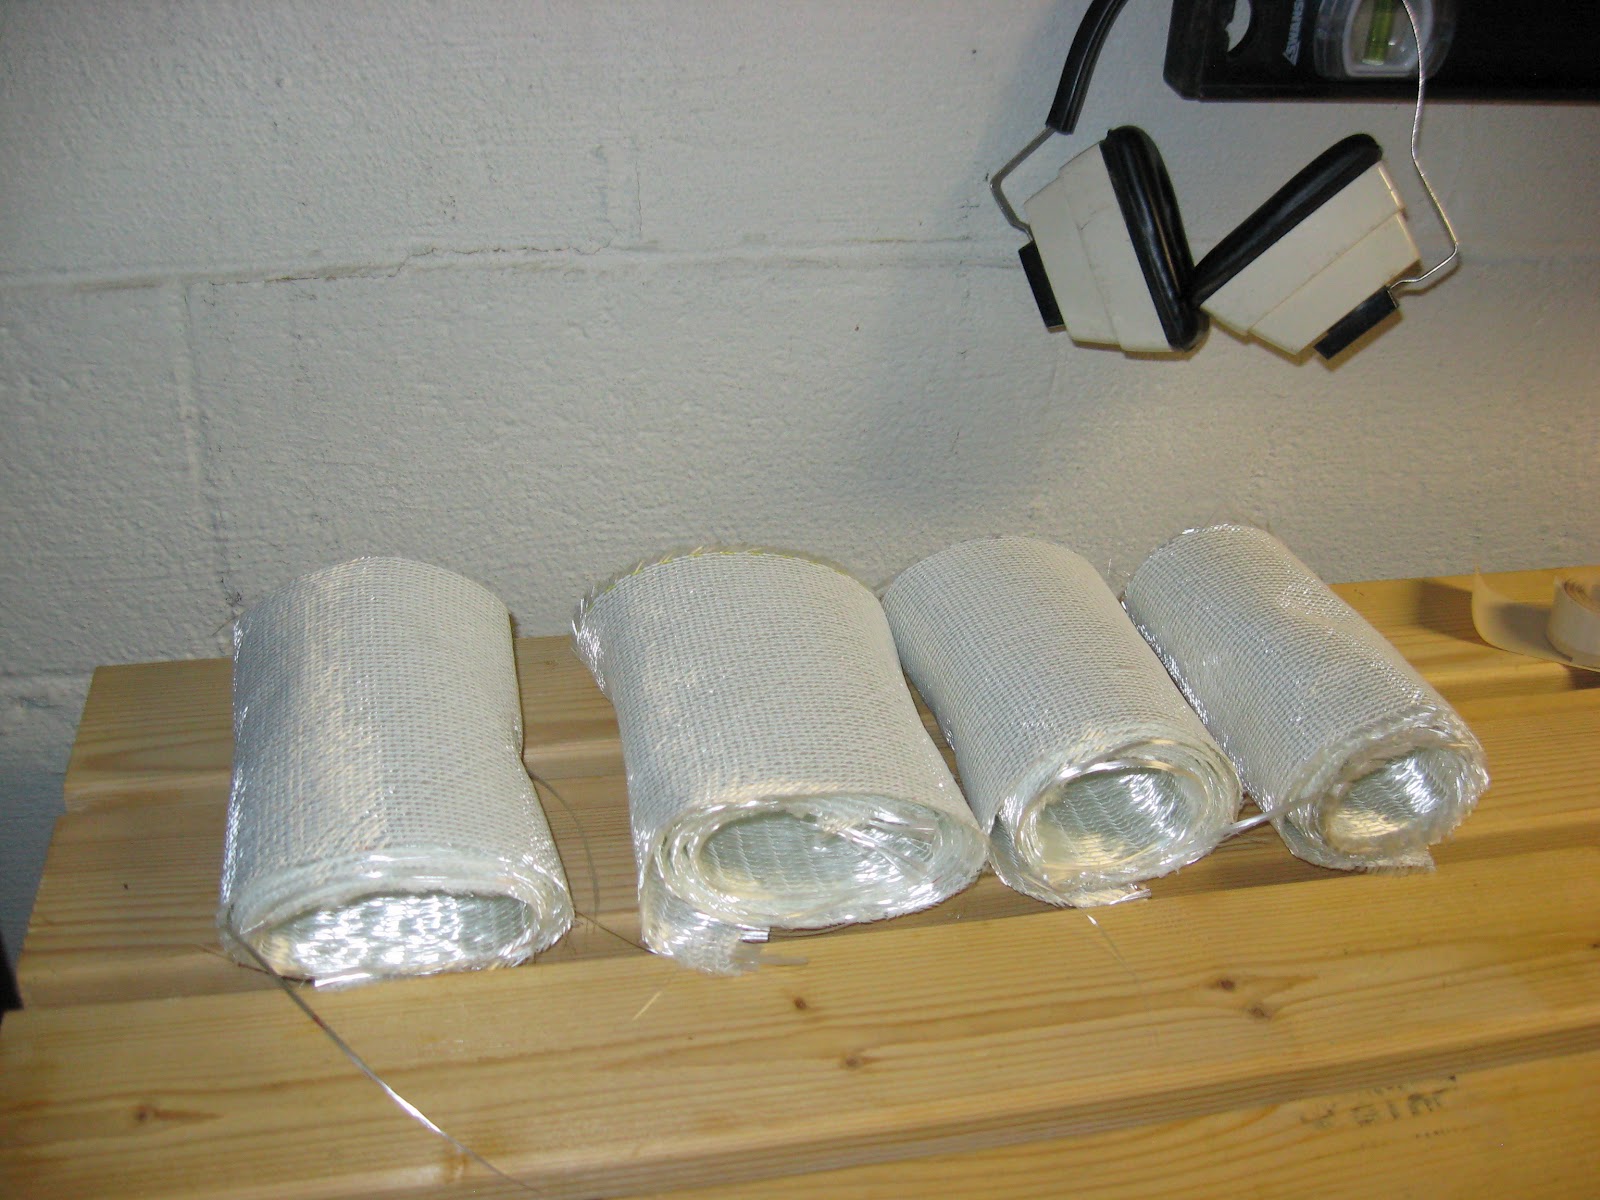
I am also going with a sidewall design this year rather than the cap design. I expect the ski to be a little heavier, but should be more responsive in turns. One change I am making this year is using a basalt fiber instead of fiberglass - basalt is made from igneous rock. Here is some info about basalt:
Basalt fiber is a material made from extremely fine fibers of basalt, which is composed of the minerals plagioclase, pyroxene, and olivine. It is similar to carbon fiber and fiberglass, having better physicomechanical properties than fiberglass, but being significantly cheaper than carbon fiber. (http://en.wikipedia.org/wiki/Basalt_fiber)
...the basalt/epoxy sample's strength tested 13.7 percent higher than that of the E-glass sample and exhibited 17.5 percent greater stiffness, although the basalt sample was 3.6 percent heavier than the E-glass sample. Additionally, basalt fibers are naturally resistant to ultraviolet (UV) and high-energy electromagnetic radiation, maintain their properties in cold temperatures, and provides better acid resistance. (http://www.compositesworld.com/articles/basalt-fibers-alternative-to-glass)
Steel 73000 psi (0.50 GPa)
E-glass 500000 psi (3.45 GPa)
Basalt 600000 psi (4.15 GPa)
Carbon Fiber 725000 psi (5.00 GPa)

After some extensive searching, I found some quad-axial basalt fabric from a company in Germany -iXperial (http://www.ixperial.net/). I highly recommend them; this shipment was fast and the customer service was excellent. Most fiberglass in skis is tri-axial, meaning that it is layered along three axes. The basalt fiber I ordered is layerd on four. The basalt will be visible through the topsheet and graphics layer.


This year I purchased a new 2.5HP router and a 6 Amp jig saw. If I could afford a large bandsaw I'd have one. The extra power in these tools over my past tools makes a big difference in cutting time and surface finish. The core of the ski is nearly identical to the Aftermath, but substitutes pine for the cedar. It still uses 3 oak stringers, 5mm wide, along with Aspen and Poplar. Photos of the core in process are below.


The base material is simlilar to last year and is a 4001 grade sintered P-Tex. This year I was able to get the base template and core member template printed on the same sheet, which saved some time and money. The base in process is below.

.JPG)


I am returning to the sidewall design again this year. The following pictures illustrate attaching the sidewalls to the core, planing the core, and profiling the core.


My friends Matt and Shane; Shane is determined to make skis with me for a living; I forced them both to wear hearing protection.


Once the skis were profiled, I used my belt sander and 50 grit sand paper to smooth out the surface after routing. One thing I was worried about, after my last experience with sidewalls, was getting the sidewall to stick to the epoxy. Ideally, the plastic surface would be very rough with a surface finish that looks like that of the base material. The 50 grit belt seemed to do the job quite well as shown below. The surface looks like it does when it is abraded at the factory. This will give the epoxy "hairs" to grab onto as it forms a mechanical bond. A lesser grit would produce a cleaner looking surface, but would not bond as well.

The next step is to finish the graphics layer, prep the top sheet and basalt layers, and press the skis.
Here is a preview of the new ski press.