Saturday, June 16, 2012

Mold

To create the ski mold this year I used a process similar to last year where I staggered 1/2 inch medium density fiberboard (MDF) and then glued two layers of 1/8" high density fiberboard (HDF) on top.  This year I decided to make the reverse mold at the same time as the ski mold.  I'm not sure why I didn't do this in the past, but I used the reject material from the mold to create the reverse mold.  Doing this allows one cut to create both halves of the mold.
 
To start the process, I pre-cut MDF rectangles for the tip, tail, and central portions of the mold.  The mold is 8.5" wide; therefore, nine (9) support members were cut for the tip and tail and eight (8) support members were cut for the central portion. Next, I took the template I printed earlier and cut it into tip, tail, and central pieces.  I then used spray glue to attach the templates to pre-cut MDF.

Once glued, the template was cut out with a jig saw.  This shape is then used to transfer the template to the other mold support members. Once all members arecut, I clamped like members together and sanded them as one to create a uniform surface.

When all members are sanded, they are glued and clamped together.  This is done for both the mold and reverse mold.


When the glue is dry, the entire mold is sanded again to ensure there is smooth transition between all pieces.  Once sanded and wiped down (to remove sawdust), the 2 sheets of HDF are glued to the mold.  The reverse mold is used to press the sheets onto the mold.  In order to protect the mold surface and provide even pressure, a blanket was placed between the halves before clamping.  The process is repeated for the reverse mold.


 When dry, the extra HDF material is cut from the ends of the mold and end caps are fashioned to reinforce the mold and provide a smooth surface for the air bladder to bear against.  Note, the reverse mold end cap was made prior to the application of the HDF to the surface.


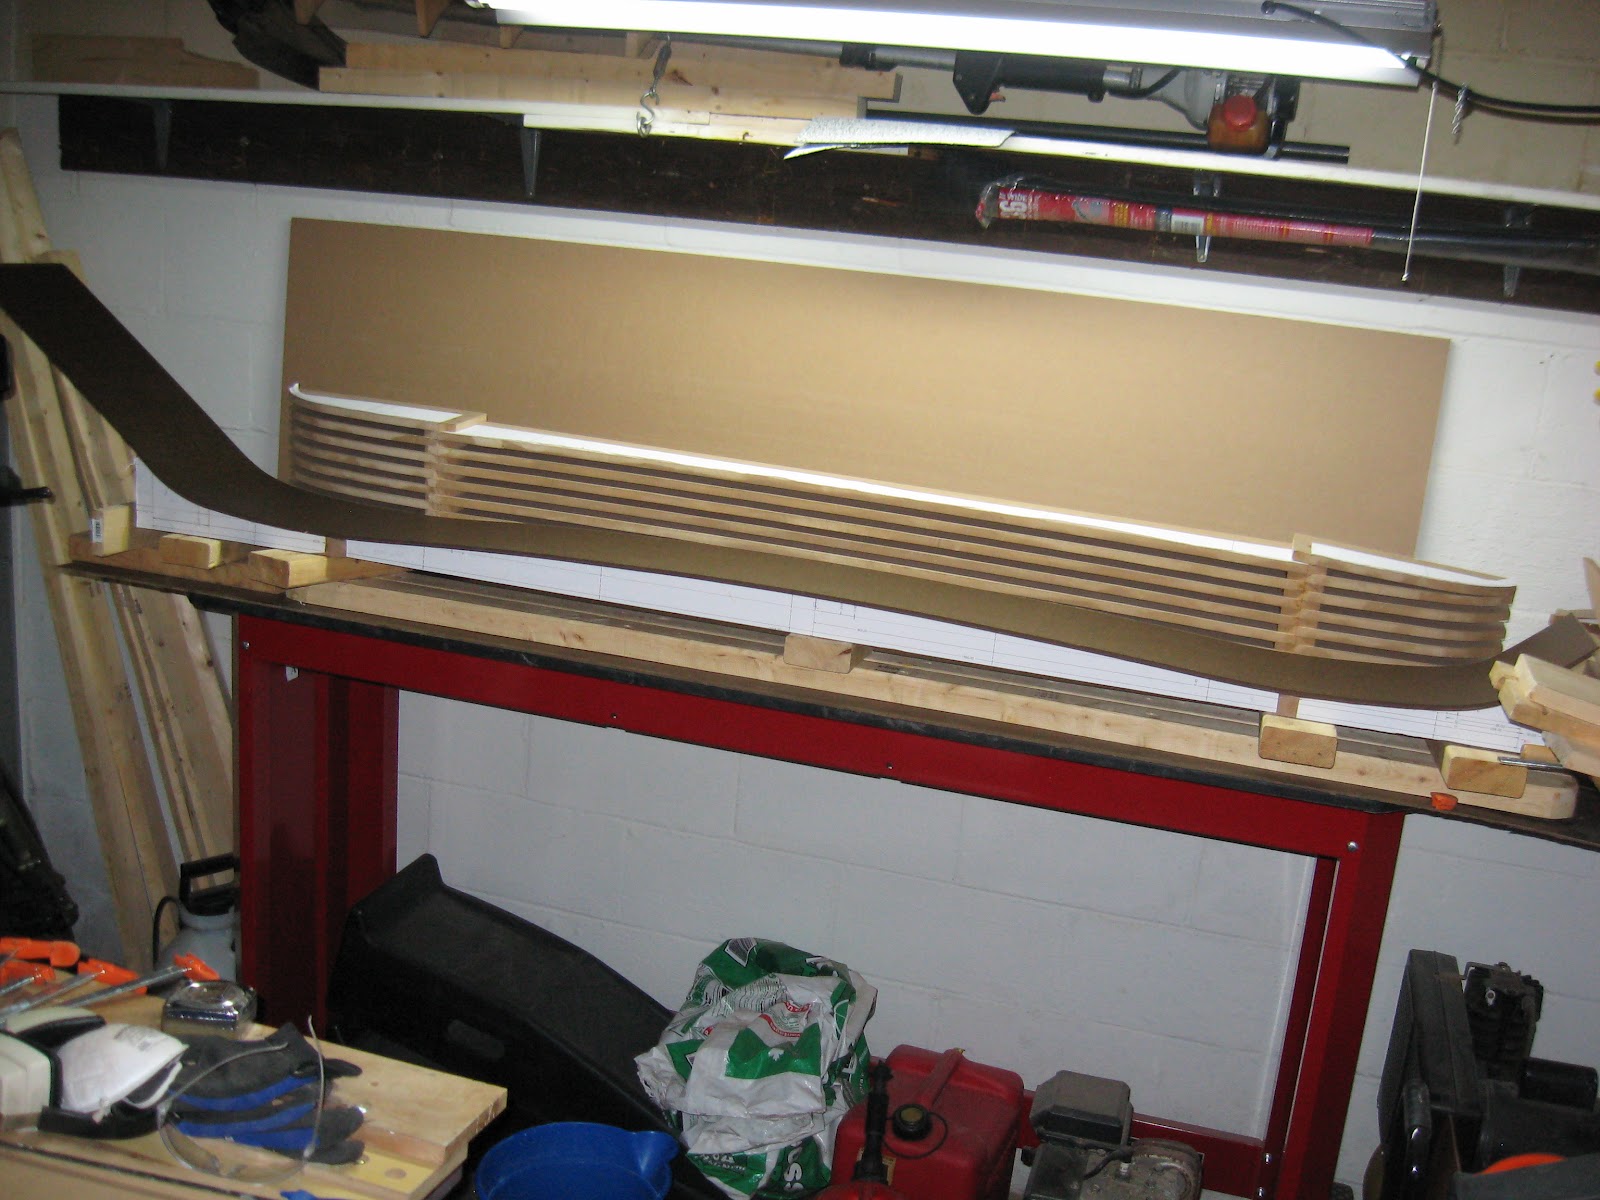
The tail radius of curvature was a bit too small for the HDF and it cracked.  To fix this, I sanded the crack down and filled it with wood filler.  This created a smooth surface for the ski to be molded against.


The final step is place a scribe line at the center of the mold and then nail scrap edge material in place. To do this, the ski base was placed on the mold and the scrap edge material was nailed along side it. When the base is placed on the mold for pressing, the edges are used to center it and prevent it from moving forward or aft.
 
The mold and reverse mold are now ready for use.


Sunday, June 3, 2012

AMH-12 Core

As mentioned in my last post, I am making the cores for this years skis out of aspen, poplar, and oak. A core set of wood is shown below.


 Similar to years past, I am using what I call a pre-tensioned core design.  Rather than laminating thin strips of wood into a rectangle and then cutting the shape out of it, I cut two inner core members to a curve which allows for uniform wood strips in the center and on the sides of the core. Uniform strips on the ski edge  allow for even edge pressure.

The first step is to rip the core members to the predifined widths.  The three oak stiffeners are 5 mm wide.

Next, the shaped core members can be cut using the core member template.

Once this is done, the core members are sanded and can be glued together. A single core set is shown below consisting of 11 pieces.


This year I applied glue with a roller which improved the process over past years.


Once glued, a planer is used to create a smooth surface on both sides of the ski and to create the maximum thickness of 12 mm (binding platform).


The core template is then used to cut the shape of the tip and tail into the ski.  A jig saw works well for this.


The next step is to set up the ski profiling jig and cut the ski thickness profile with a router.


 Once profiling is complete the core is again sanded.  Once sanded, the core is complete and ready for layup.