Sunday, July 1, 2012

Layer Preparation

In order to press the ski, all the ski layers must be prepared.  This includes fiberglass, rubber foil, and the p-tex top sheet.

VDS Rubber foil is placed between the metal edge and the fiberglass in order to prevent delamination.  Additionally, the rubber provides a small amount of vibration damping to the ski.  The rubber is purchased as a 50mm wide strip and must be cut into four 6'3" lengths that are 25 mm wide.  This is done easily using scissors.

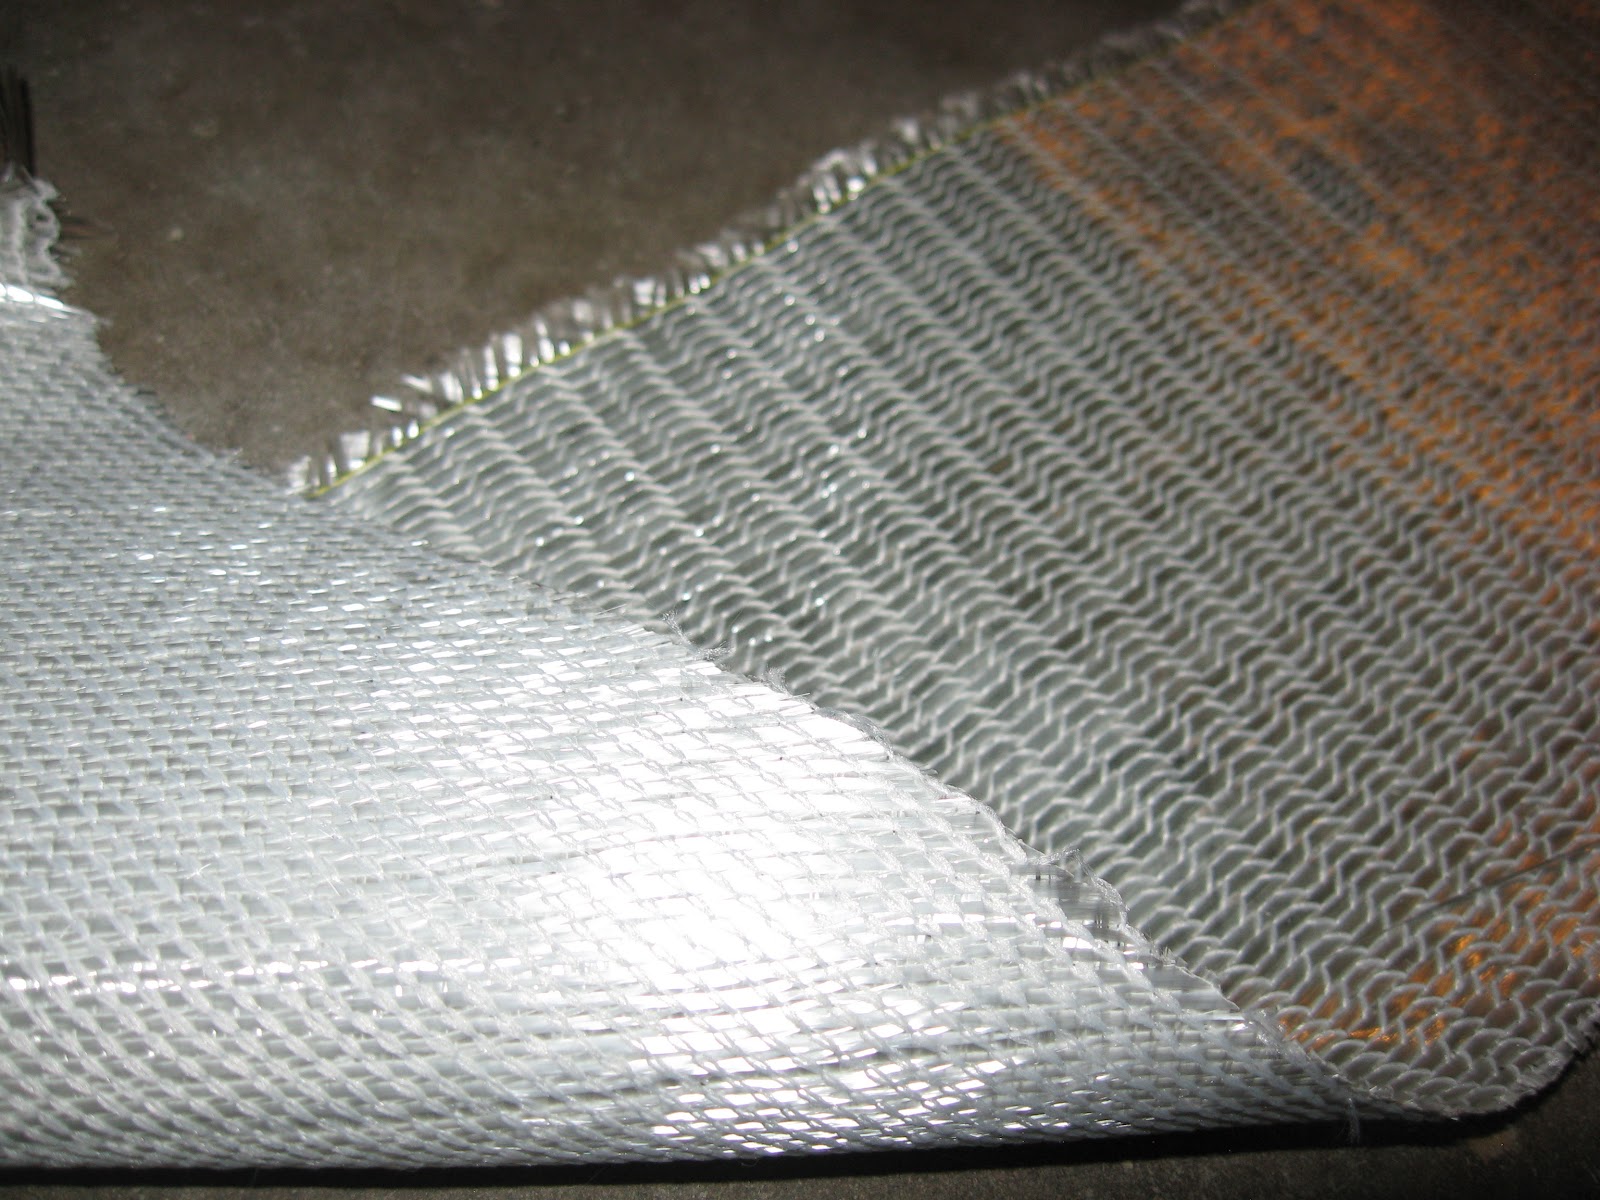
19 oz triaxial braided fiberglass was chosen to reinforce the ski.  The fiberglass will be placed between the base and core and a second layer between the core and top sheet.  The fiberglass is woven in three directions, parallel to the ski, and then two sets of strands +/-45 degrees from parallel.  The parallel strands add strength to the ski flex and the +/- 45 degree strands provide torsional strength.  The fiberglass is purchased in a 25 inch wide sheet.


The fiberglass is measured, marked with a permanent marker, and cut into four 6.25 inch wide strips using a good pair of scissors.


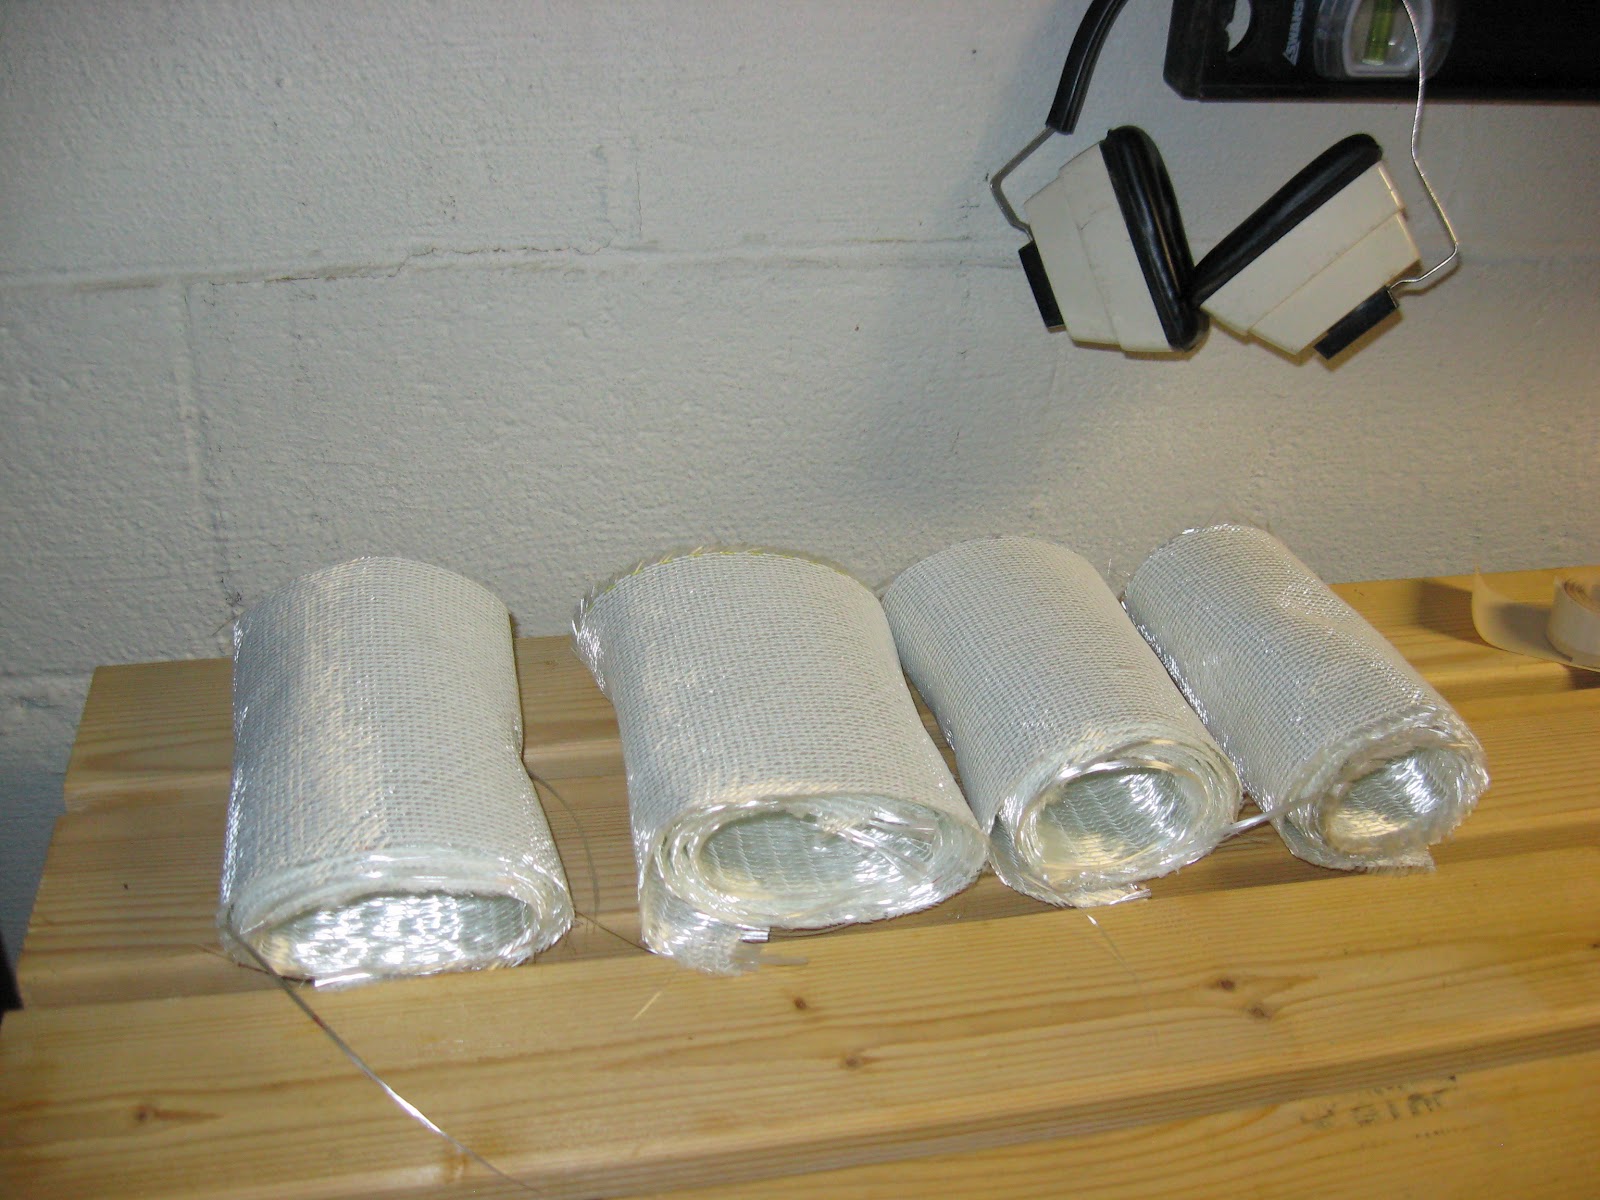
The fiberglass is now ready for pressing and can be rolled up for storage until then.

The final layer to prepare is the clear p-tex top sheet.  The top sheet that I am using was left over from last year and therefore was already to cut to size.

 I covered the top sheet with contact paper in order to prevent epoxy from sticking to it during the pressing process.


All layers, other than the graphics layer, are now ready for pressing.


Base Preparation


This year I bought gray Isospeed 7200 p-tex base material.  I chose this material because I had good results with it on the Panjshirs last year.  Also, I was told by my ski shop that this material was easier to grind than a similar Durasurf product.  Additionally, this material is abraded on both sides so less grinding is necessary to get the ski ready for wax.  The edges have a 1.33mm step, are sand blasted, and made from hardened steel.

  
The first step in preparing the base is to cut the base material using the template made earlier.  The base material is easily cut with a razor blade as long as it is clamped down.

Next the edges are clamped and tacked in place using superglue.  As in years past, I did not wrap the edge around the tip or tail, but ran it to the point where the tip and tail radius began.  This makes the edge simpler to manufacture and lightens the ski a small amount.


Once the edges are tacked in place, the base must be covered with tape in order to protect it from epoxy.  The tape also helps to secure the edges in place so they do not shift during pressing.

I chose to use contact paper this year instead of tape because one pass could cover the entire base (vs 3 or 4 tape passes).  Having a single sheet will prevent ridges from forming where the tape overlapped (ridges form during pressing - this means less base grinding is needed later).  Also, the contact paper should be easier to remove than tape because it is a bit thicker.  In order to apply the contact paper, I first set it outside in the ~100 degree sun and softened it up a bit.  Next, I stuck one end in place, then lined up the sheet and began to unroll it onto the base.  Once done, a cloth was rubbed over the surface to ensure a good bond.


A razor blade was then used to trim the excess contact paper from the base.


The base is now ready for pressing.