The core of the ski is what gives the ski its feel and strength. Wood is the preferred material for the ski core because of the flexibility, light weight, strength, and snap/feel. Other materials can be substituted for wood, such as foam or foam rubber and plastic. Wood and foam are often used together to create the desired core properties.
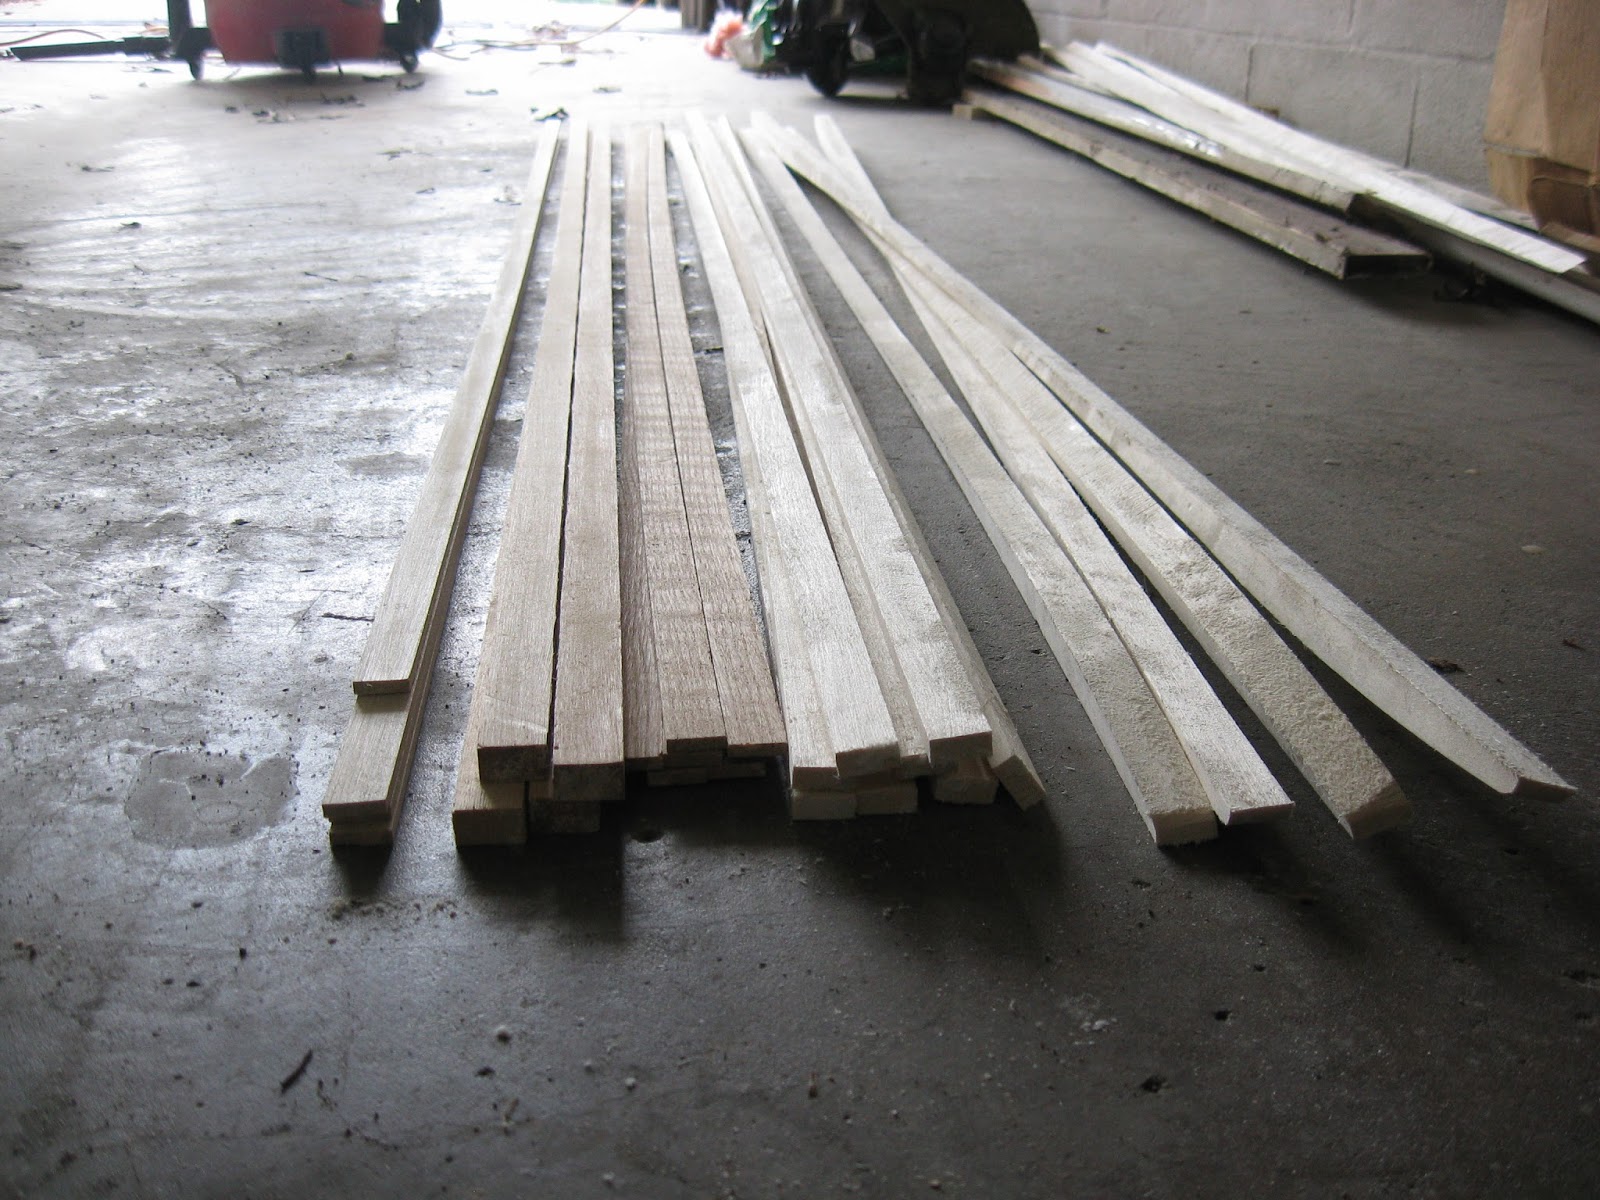
I prefer a solid wood core; wood is more expensive than foam, but provides for a better feel in my opinion. There are also many varieties of wood that can be mixed to create any feel (maple, poplar, aspen, ash, balsa, etc.). The core is designed with several factors in mind: primarily weight and flexibility (noodle vs barn door feel). There is a balance here which ski manufactures work hard to achieve. My first year I used a core made from poplar and aspen; these cores made for a very light ski, but it was also very flexible: the noodle. My second year I used aspen and maple, but also integrated steel and aluminum rods, 3 ft and 5 ft respectively, into the core. The core was also thicker; this resulted in a ski that was heavy and rigid: the barn door. These ski both have their place - backcountry/powder vs hard crud. Last years cores are shown below:
A 1/8" groove was routed into the side of the core members to place the 3' stainless steel and 5' aluminum rods in the core.
This year I attempted to balance the two by using my knowledge of the past two years. The core is made from aspen and maple, but is thinner than year two. I also tried to use some engineering logic to come to a conclusion:
The first step in creating the core is to rough cut the stock material. This is done using a table saw to rip the boards down their length. Their width is determined based on the core plans I originally laid out on my templates.


The next step is to cut the curved core members using a pre-fabricated template. The cores I design use three constant width members and two variable width members. The constant width members made from maple and run along the edges and in the center of the ski. The two variable width aspen members are placed in-between the maple members. I used this design because the constant thickness maple members on the edges create a constant edges pressure. Also, the core is pretentioned into place. This pretentioning adds some built-in stress to the ski which will add to edge pressure. Ski manufacturers will not use this method because it wastes too much material, but I think the properties it gives is worth the loss. Some of the following pictures will show the members and the pretensioning. The variable width core members are cut with a jigsaw.
The core members and pretensioning method can be seen in the following pictures:
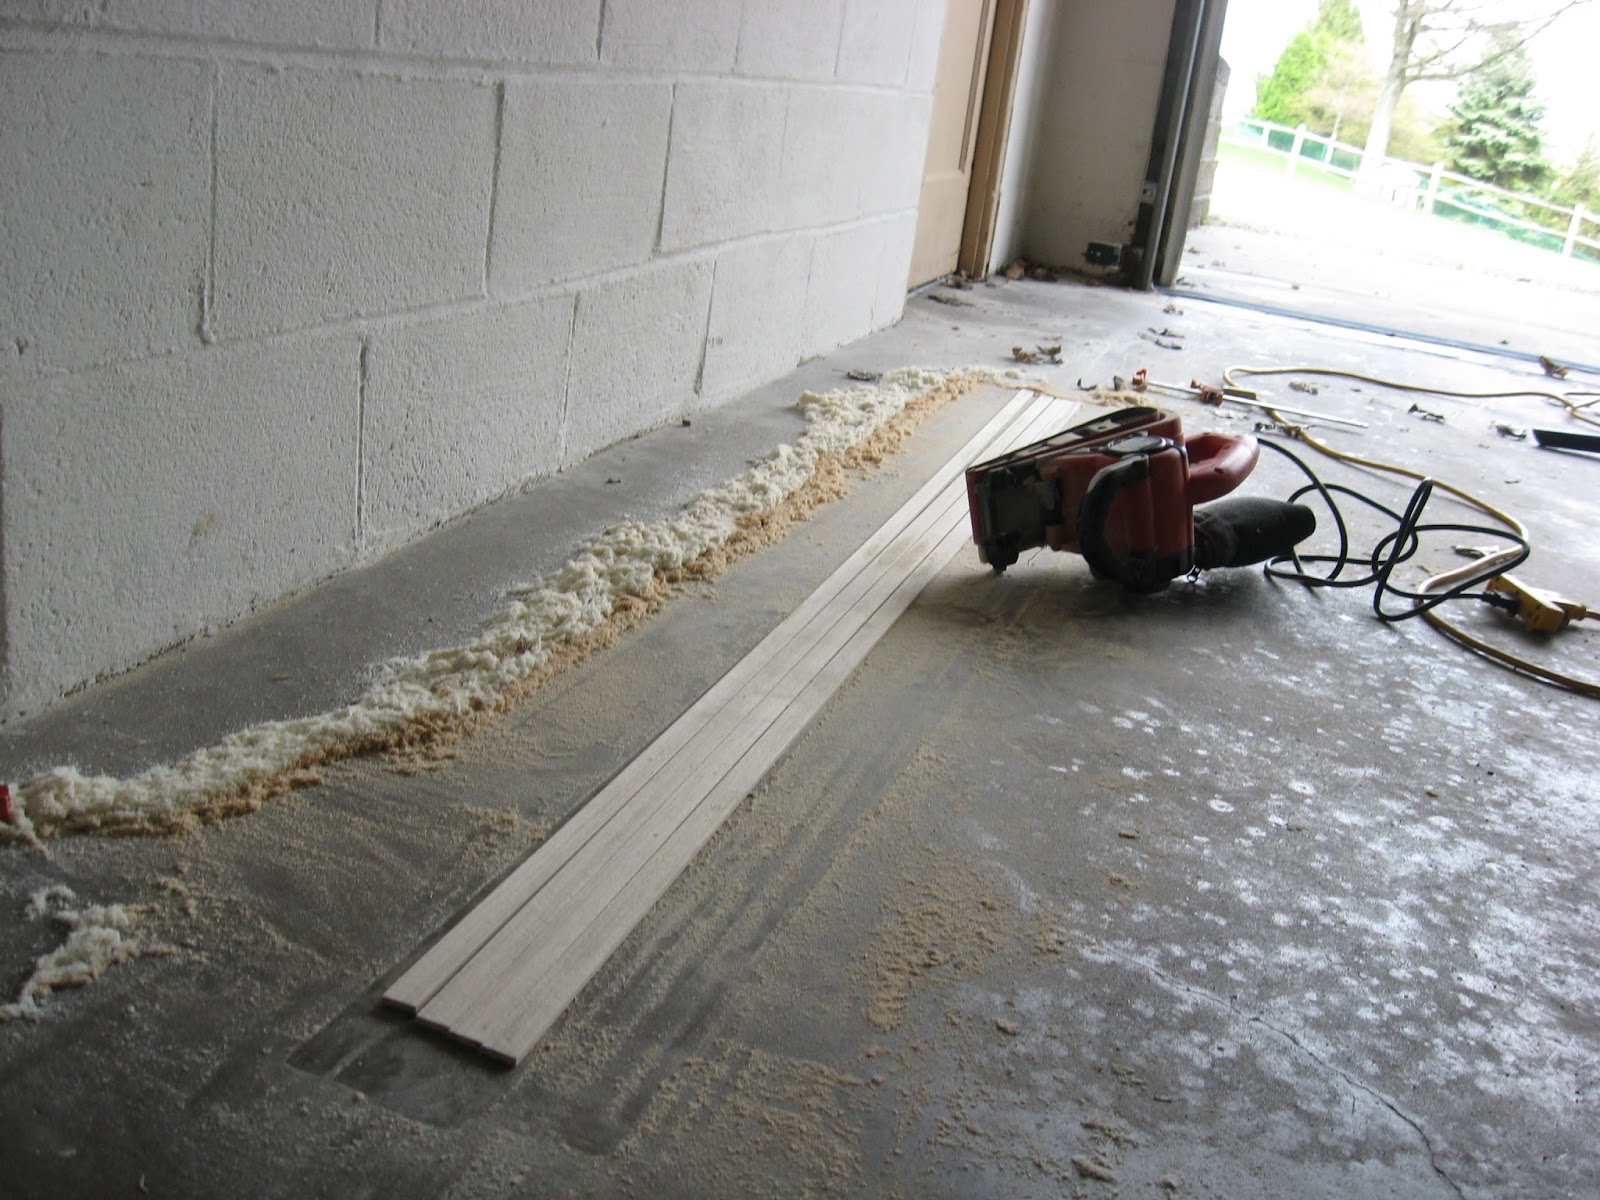
Using this method, the ski profile does not have to be cut, but is clamped into place. The core members should be sanded to remove any unevenness and ensure that the glue will bond well.
The next step is to clamp and glue the core into place; I use a standard water resistant wood glue. Placing a piece of plastic down on your work surface prior to gluing will help to control excess glue.
The core template can then be used to cut the rough tip and tail shape. This is not the final shape as the core and flashing are trimmed after the ski is pressed. The template is larger than the final ski by 5mm on every side.
At this point the ski must be planed to size. The wood used is 3/4" thick which is equivalent to 19 mm. The ski must be planed to 12 mm; this is the maximum thickness of the ski. Using the planer is one of my favorite operations because it always works fast and well.
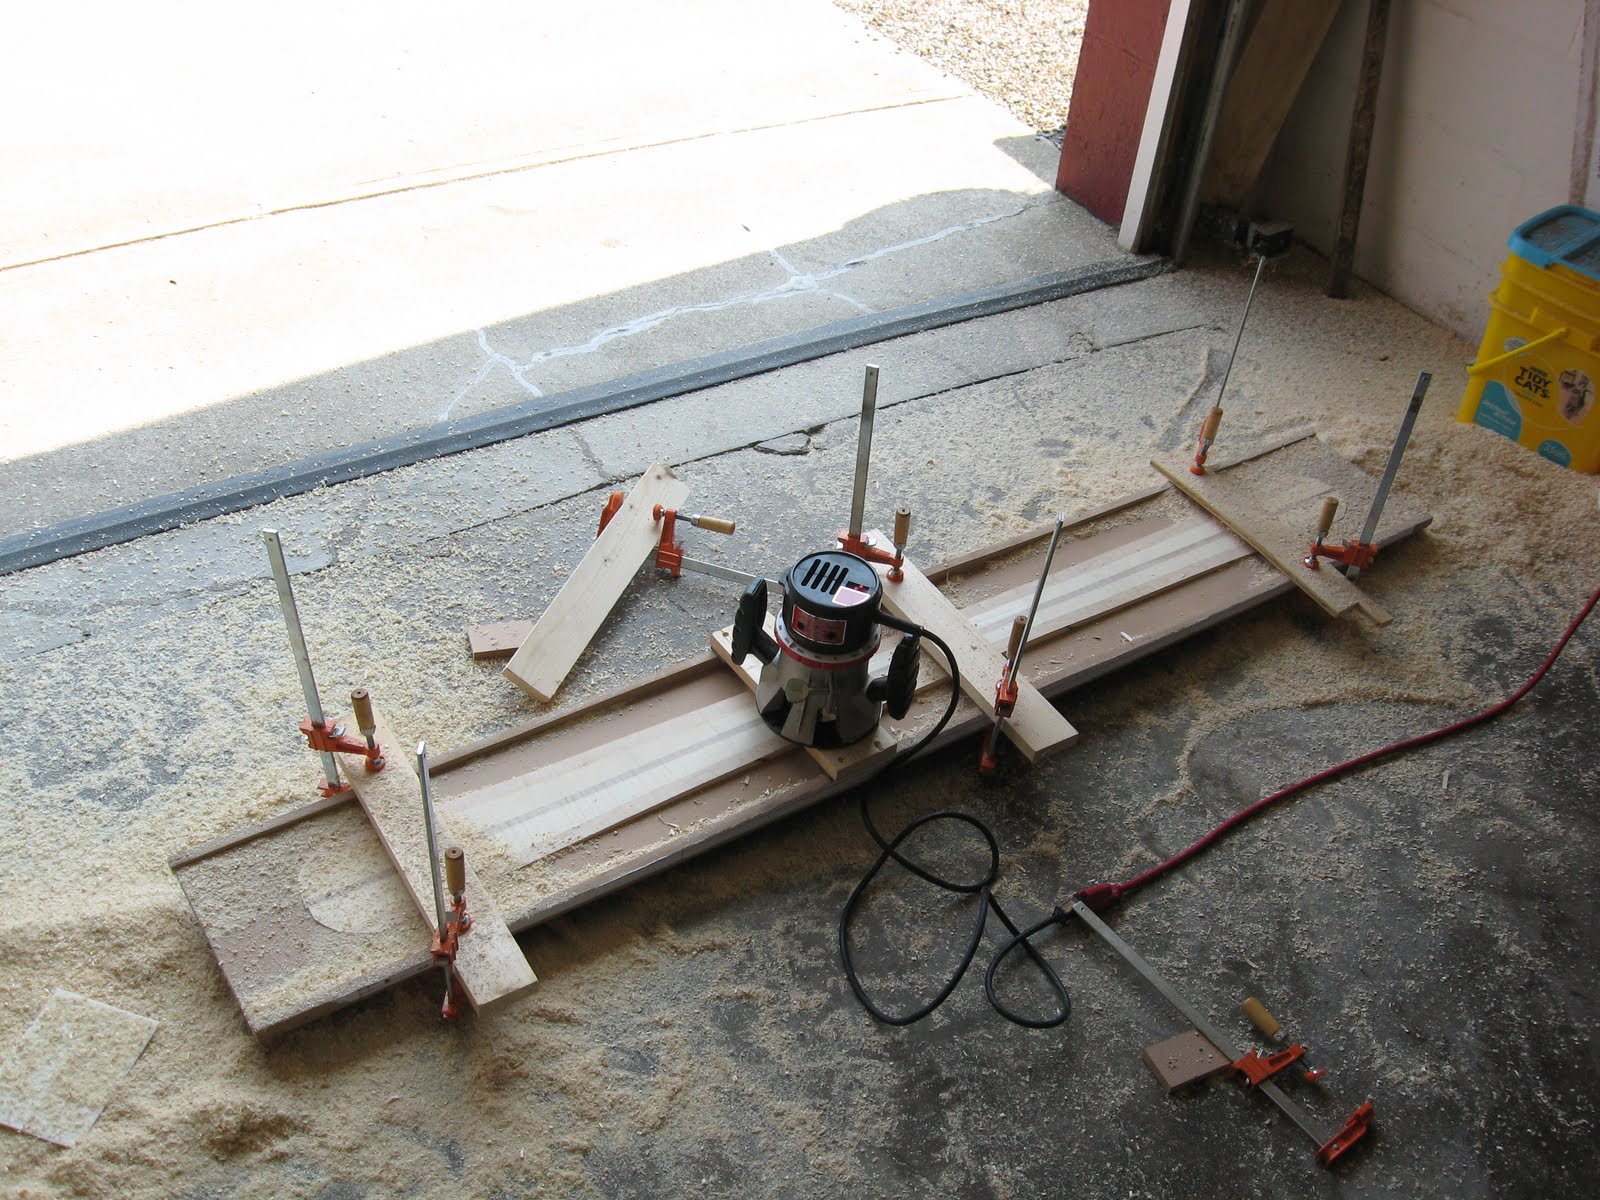
Once planing is complete, the ski thickness must be profiled to size. A linear profile was chosen for these skis which takes them from 12mm at the boot to 2 mm at the tip and tail. This is accomplished using the profiling jig that was created earlier. A router is moved across the ski on a slide which is moved up and down the rail.
A rapid material removal router bit works best. It should create a flat cut.
A slider is used to guide the router along the profiling jig rails.
The following video is played at 12X speed and demonstrates the profiling process. It takes approximately 20-25 minutes per ski.
The cores are then sanded to remove any unevenness. Once finished, the cores are ready to be pressed.