Showing posts with label Table Saw. Show all posts

Saturday, August 17, 2013

The Core

It has been about 4 months since I have done any work on my skis because our second daughter was born in April. She is a wonderful blessing to our family and worth suspending ski building operations for.  I am excited for the day when my children out-ski me for the first time.

"Exactly one day in your life your kid will ski as good as you do. The next day, he'll ski better than you."
-Warren Miller

The Aftermath 2 core is nearly identical to the Aftermath gen 1 core except that cedar was substituted for several aspen members to lighten the core.  Also, the oak rails will not be included with this model since they provide too much stiffness.  This will be my lightest core ever.  The core is comprised of 13 members as shown below:


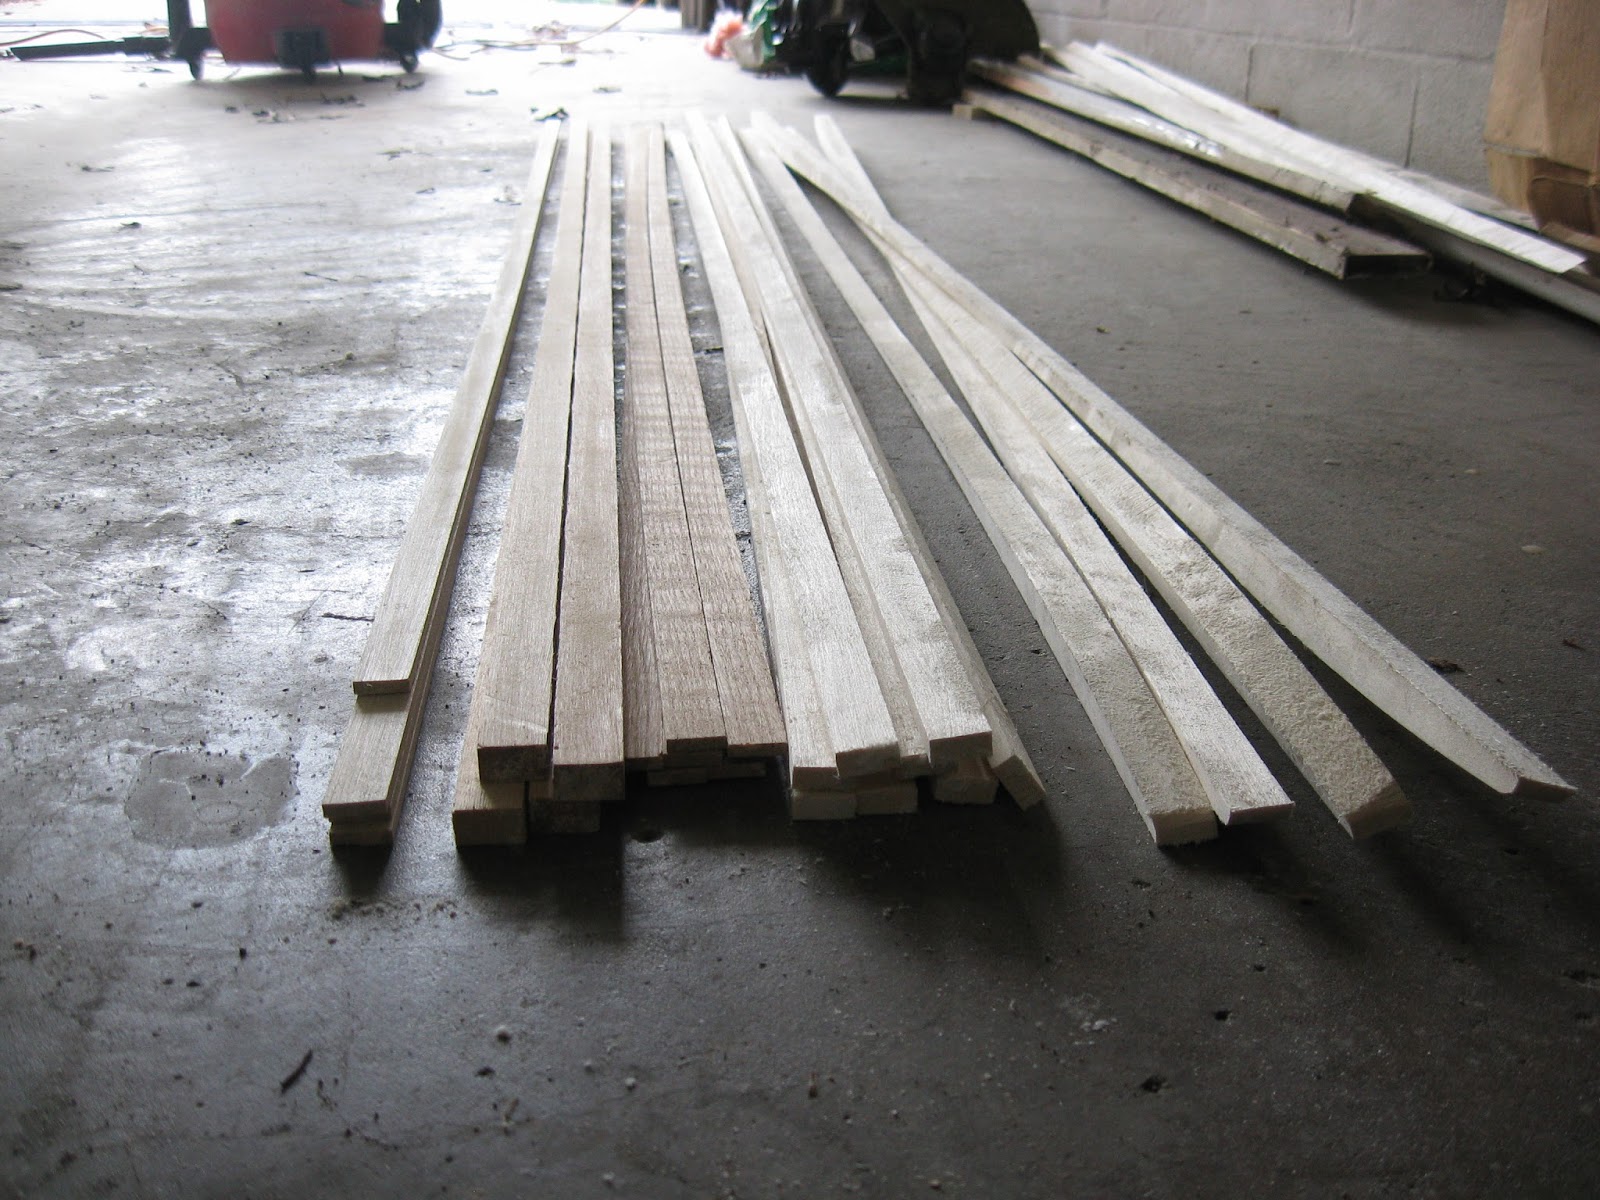
This is my first year using cedar and I had to find a piece with no knots, but this turned out to be pretty easy; all the wood was purchased at Lowe's.  Cutting the core members is fairly straightforward with a table saw - just watch your fingers with the 5mm wide pieces.


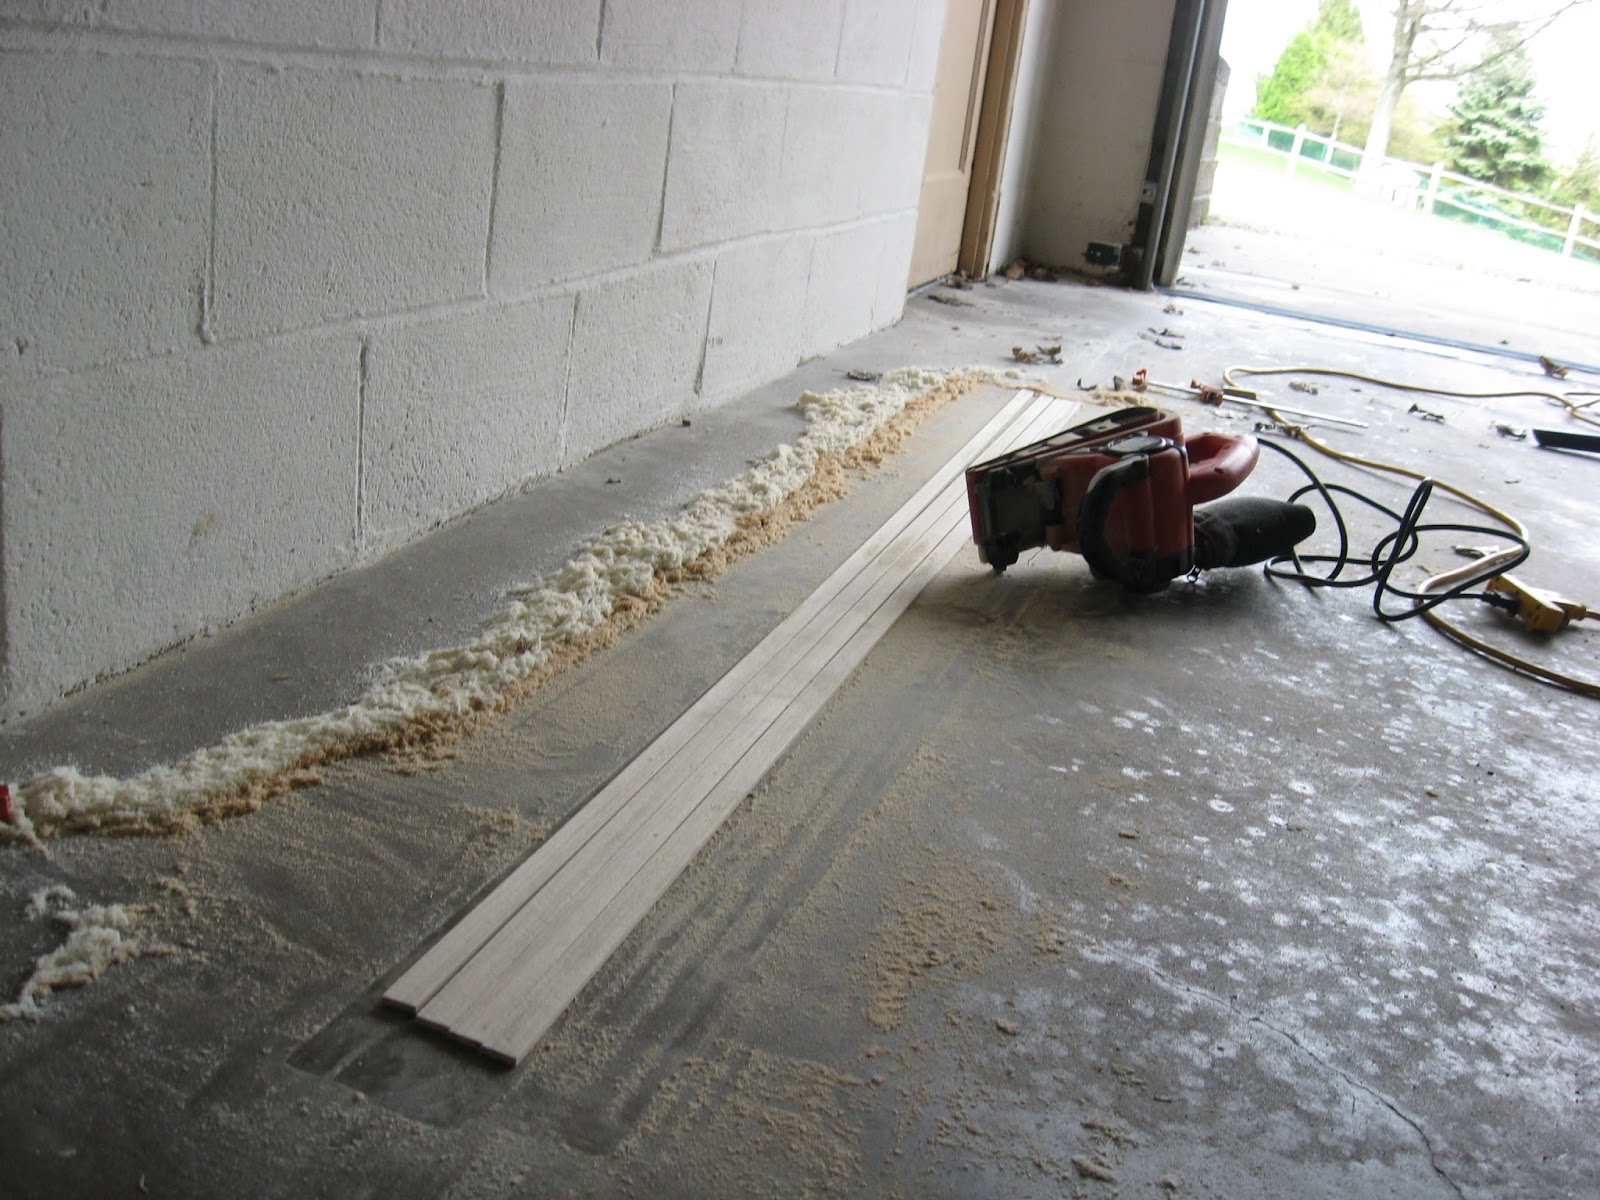
Once done, I used my core member template to cut the two curved aspen members for each ski.  Then I used a 50 grit belt on my belt sander to finish the cuts.  Clamping the boards together allows the sander to ride perpendicular to the top of the member.  It also ensures all the members are identical.
 
Aspen Curved

 Aspen Straight 
 
 Oak
 
 Cedar
 
 Poplar


Once the sanding was complete, all the wood was wiped clean with a damp cloth.  Wood glue, clamps, and a paint roller were used to join the core members.


The core is in its final stages now and can be planed down from 19mm to 12mm thick.


Next the core template is used to round the tip and tail of the core blank.

 
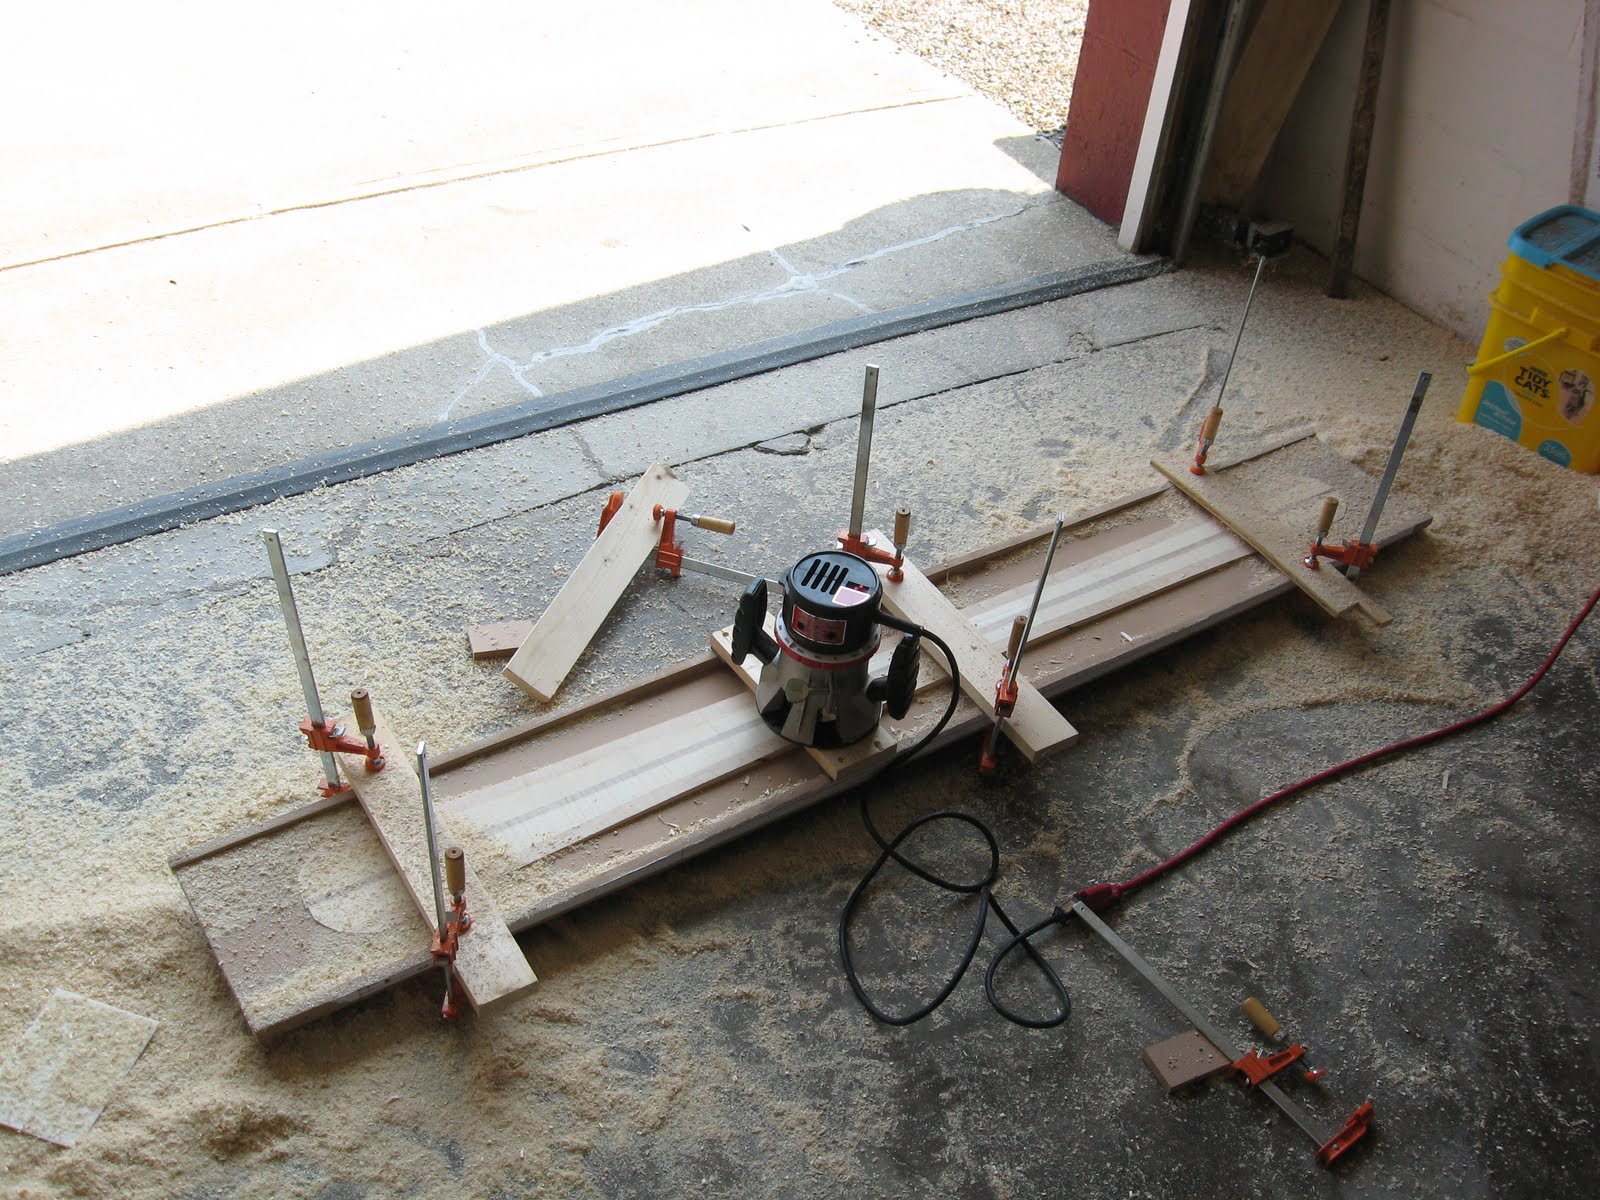
The ski is then clamped into the profiling jig and a router is used to machine the core blank to thickness.  The tip and tail are machined from 12mm to 2mm.


Another sanding, this time with 80 grit sandpaper, is needed to smooth out the surface created by the router.  The core is now ready for layup.


Sunday, June 3, 2012

AMH-12 Core

As mentioned in my last post, I am making the cores for this years skis out of aspen, poplar, and oak. A core set of wood is shown below.


 Similar to years past, I am using what I call a pre-tensioned core design.  Rather than laminating thin strips of wood into a rectangle and then cutting the shape out of it, I cut two inner core members to a curve which allows for uniform wood strips in the center and on the sides of the core. Uniform strips on the ski edge  allow for even edge pressure.

The first step is to rip the core members to the predifined widths.  The three oak stiffeners are 5 mm wide.

Next, the shaped core members can be cut using the core member template.

Once this is done, the core members are sanded and can be glued together. A single core set is shown below consisting of 11 pieces.


This year I applied glue with a roller which improved the process over past years.


Once glued, a planer is used to create a smooth surface on both sides of the ski and to create the maximum thickness of 12 mm (binding platform).


The core template is then used to cut the shape of the tip and tail into the ski.  A jig saw works well for this.


The next step is to set up the ski profiling jig and cut the ski thickness profile with a router.


 Once profiling is complete the core is again sanded.  Once sanded, the core is complete and ready for layup.

Friday, April 27, 2012

AMH-12

RECAP

The skis I made last year seem to have done well.  My brother has spent time skiing the Panjshirs at Crystal Mountain in the state of Washington.  The Arlias have seen east and west coast skiing and have performed well.  A pair of the Arlias even survive falling from the roof of a car onto the pavement at high speed. ( http://mwallworkrn.blogspot.com/2012_02_01_archive.html ).


I continued to use my Goliaths in the backyard and took the tomahawks to the slopes.  To date none of the skis I have made have failed and only a single Goliath V1 edge has torn out (I have corrected this problem).

2012

This year I decided to make only a single pair of skis. I want these skis to be good for east coast skiing, where I live, but also have the ability to take on big mountain snow. Additionally, I wanted the ski to be relatively light to take on backcountry trips. I have temporarily named the ski the All-Mountain Holuta (AMH-12).

The ski dimensions are 127-88-109 and 186 cm long.  Additionally, the ski has tip and tail rocker, camber, and reverse side cut at the tip and tail. The rocker will allow for easier powder skiing while the camber will allow for good edge grip on hard-pack. The reverse side cut at the tip and tail shortens the turning radius of the ski from ~21m to 17.7 m.  This will allow for quicker turning despite the length of the ski.  The reverse side cut will also lighten the ski and allow for smoother maneuverability in deep snow.  The ski was lengthened over past years (186 vs 181 cm) since the rocker shortens the contact length of the ski.  Adding a few centimeters to the length re-lengthens the contact length.  The final design is below:


In order to make the skis light, I am using Aspen, Poplar and Oak in the core.  Several 5mm strips of oak spread through the core serve to provide ample stiffness to the ski while filling the gaps with aspen and poplar lightens the ski.  Oak is not frequently used in skis, and I'm not entirely sure why.  It is a little expensive but it is very hard and stiff.  Oak is also stronger than the majority of commercially available woods.  The hardness wears out tools more quickly which may be why it's not used commercially.  I am also planning to add two oak rails to the top of each ski; this rail will significantly improve stiffness and edge grip. A preview of the core is below:


I have also started making the templates.  Similar to last year, I have three templates: a base, rough core, and core member template; the use of these templates will be explained later.  To make the templates, I had the designs printed full size and then used spray glue to attach them to high density fiberboard that I purchased.


The templates are then cut out and are ready to shape the ski.

Monday, September 5, 2011

Core

The core of the ski is what gives the ski its feel and strength.  Wood is the preferred material for the ski core because of the flexibility, light weight, strength, and snap/feel.  Other materials can be substituted for wood, such as foam or foam rubber and plastic.  Wood and foam are often used together to create the desired core properties.

I prefer a solid wood core; wood is more expensive than foam, but provides for a better feel in my opinion. There are also many varieties of wood that can be mixed to create any feel (maple, poplar, aspen, ash, balsa, etc.). The core is designed with several factors in mind: primarily weight and flexibility (noodle vs barn door feel).  There is a balance here which ski manufactures work hard to achieve.  My first year I used a core made from poplar and aspen; these cores made for a very light ski, but it was also very flexible: the noodle. My second year I used aspen and maple, but also integrated steel and aluminum rods, 3 ft and 5 ft respectively, into the core.  The core was also thicker; this resulted in a ski that was heavy and rigid: the barn door.  These ski both have their place - backcountry/powder vs hard crud.  Last years cores are shown below:

 A 1/8" groove was routed into the side of the core members to place the 3' stainless steel and 5' aluminum rods in the core.


This year I attempted to balance the two by using my knowledge of the past two years.  The core is made from aspen and maple, but is thinner than year two.  I also tried to use some engineering logic to come to a conclusion:


The first step in creating the core is to rough cut the stock material.  This is done using a table saw to rip the boards down their length.  Their width is determined based on the core plans I originally laid out on my templates.


The next step is to cut the curved core members using a pre-fabricated template.  The cores I design use three constant width members and two variable width members.  The constant width members made from maple and run along the edges and in the center of the ski.  The two variable width aspen members are placed in-between the maple members.  I used this design because the constant thickness maple members on the edges create a constant edges pressure.  Also, the core is pretentioned into place.  This pretentioning adds some built-in stress to the ski which will add to edge pressure.  Ski manufacturers will not use this method because it wastes too much material, but I think the properties it gives is worth the loss.  Some of the following pictures will show the members and the pretensioning.  The variable width core members are cut with a jigsaw.


The core members and pretensioning method can be seen in the following pictures:


Using this method, the ski profile does not have to be cut, but is clamped into place. The core members should be sanded to remove any unevenness and ensure that the glue will bond well.


The next step is to clamp and glue the core into place;  I use a standard water resistant wood glue.  Placing a piece of plastic down on your work surface prior to gluing will help to control excess glue.


The core template can then be used to cut the rough tip and tail shape.  This is not the final shape as the core and flashing are trimmed after the ski is pressed.  The template is larger than the final ski by 5mm on every side.


At this point the ski must be planed to size.  The wood used is 3/4" thick which is equivalent to 19 mm.  The ski must be planed to 12 mm; this is the maximum thickness of the ski.  Using the planer is one of my favorite operations because it always works fast and well.


Once planing is complete, the ski thickness must be profiled to size.  A linear profile was chosen for these skis which takes them from 12mm at the boot to 2 mm at the tip and tail.  This is accomplished using the profiling jig that was created earlier.  A router is moved across the ski on a slide which is moved up and down the rail.


 A rapid material removal router bit works best.  It should create a flat cut.


 A slider is used to guide the router along the profiling jig rails.


The following video is played at 12X speed and demonstrates the profiling process.  It takes approximately 20-25 minutes per ski.


The cores are then sanded to remove any unevenness.  Once finished, the cores are ready to be pressed.