Saturday, September 22, 2012

Reinforcement

This year I wanted to make a lightweight ski with adequate stiffness; in order to do this I designed reinforcing rails to mount to the top of the core.  The rails are 5mm tall at the center and taper to 0mm at the tip and tail.  A binding mount platform was also added to the center of the ski (rails would not provide a flat surface on their own).  Adding the rails stiffens the skis by a factor of 2.7 (3.27 -> 8.88 lb/in).

The rails are made from oak to provide maximum stiffness to the core while minimizing the required height.  The rails were trimmed to 5mm thick and 18mm wide.  In order to attach the rails to the core, the outer edge was beveled to 30 degrees from vertical to match the sidewall profile and the inner edge was beveled to 45 degrees.  45 degrees on the inner edge provides a more gradual slope that the top sheet should contour to easier when attached.  The beveling was done using a table saw.


Next, the ends near the tip and tail had to be tapered. In order to do this I set the table saw to 3mm and then 1mm and cut the rails down.  This preliminary cut stepped the ends so that less sanding was needed.  The steps were then sanded to provide a smooth taper.


Once the rails were cut to size, they were sanded with a belt sander.


Next, the rails were glued to the core; the rails were bent to match the edge curvature of the ski and clamped in place.  The ends of the rails extend past the ends of the ski and will be trimmed of when the glue is dry.


Next a binding platform had to be added to provide a level surface to mount the bindings.  This was done by cutting several strips of oak and then beveling the edges to fit together.


Once the sides were beveled, a bevel was added to the ends of the binding platform to provide a smooth transition to the top of the core.


The binding platform was then glued and clamped in place.


Once this was complete, the ends of the rails were trimmed with a jigsaw to match the tip curvature.  The rails were then sanded to provide a smooth transition on the sidewall.  The top edges of the rails were rounded so that the top sheet would more easily fold over the sides.


The skis are nearly finished now; the final step is to design the graphics and press the fiberglass, graphics, and top sheet onto the ski.  Once done, the bindings will be mounted and the skis will be grounded, waxed, and sharpened.

Saturday, September 8, 2012

Press Stage 1

The skis I am designing this year use a cap rather than a sidewall.  Eliminating the vertical side wall creates a lighter ski with no reduction in strength or stiffness in addition to a ski that is less susceptible to top sheet damage.  In order to create a cap I have to press the ski in two stages.  The first stage attaches the base, edges, rubber foil, and fiberglass to the core.  Once these are connected, the flashing is trimmed and the sidewall is beveled to 30 degrees from vertical.

The first step is to attach mounting hardware to the core; this will ensure the core doesn't shift during pressing.  This is done by super gluing blocks on either side of the center line and drilling a hole through each block into the mold.  This allows a nail to be passed through into the mold.  The base is held in place by the fixture already attached to the mold.


A piece of plastic (2 mils thick) is cut to place between the ski and the mold.  This prevents excess epoxy from sticking to the mold.
 

The base is placed on the mold using a pre-attached alignment guide.  This guide is made from excess edge material and prevents the base from shifting forward or backward.

 
Once this is done, all material is staged.  This includes the fiberglass, rubber, core, base, reverse mold, and bladder.  The air compressor is also charged so that it will be ready to inflate the bladder.  At this time, I mix 1.25 cups of epoxy.  I use a west system two part epoxy (105 resin, 206 hardener) to make my skis.  Marine supply stores such as www.go2marine.com are great places to get epoxy.  http://www.go2marine.com/product/97792F/slow-epoxy-hardener-206.html
 

Once staged, the epoxy is applied to the base, rubber, fiberglass, and bottom of the core using a foam brush.


The press is then pressurized to 23 psi.  The pressure is checked periodically to ensure the pressure is maintained.  The epoxy has a pot life of 20-25 minutes and is hard within an hour.  The ski will remain in the press for roughly 12 hours to ensure the epoxy is fully cured.


 Once cured, the ski is removed from the press.


After the skis are removed, a jigsaw is used to trim the flashing from the edges.  The saw was set to a 30 degree angle and the cut was made from the bottom of the ski, using the edge as a guide.  This year the wood at the edge of the ski is aspen, which is a softer, lighter hardwood; this wood allowed the skis to be trimmed faster than in years past.


Once trimmed, the edges are sanded smooth with an 80 grit belt sander.

 
Typically, I would round the sidewall into the top of the ski to remove the sharp edge and allow the top sheet to easily bend over the ski.  This year I am adding "rails" to the top of the ski to add additional stiffness and will round the top of the rail.


Sunday, July 1, 2012

Layer Preparation

In order to press the ski, all the ski layers must be prepared.  This includes fiberglass, rubber foil, and the p-tex top sheet.

VDS Rubber foil is placed between the metal edge and the fiberglass in order to prevent delamination.  Additionally, the rubber provides a small amount of vibration damping to the ski.  The rubber is purchased as a 50mm wide strip and must be cut into four 6'3" lengths that are 25 mm wide.  This is done easily using scissors.

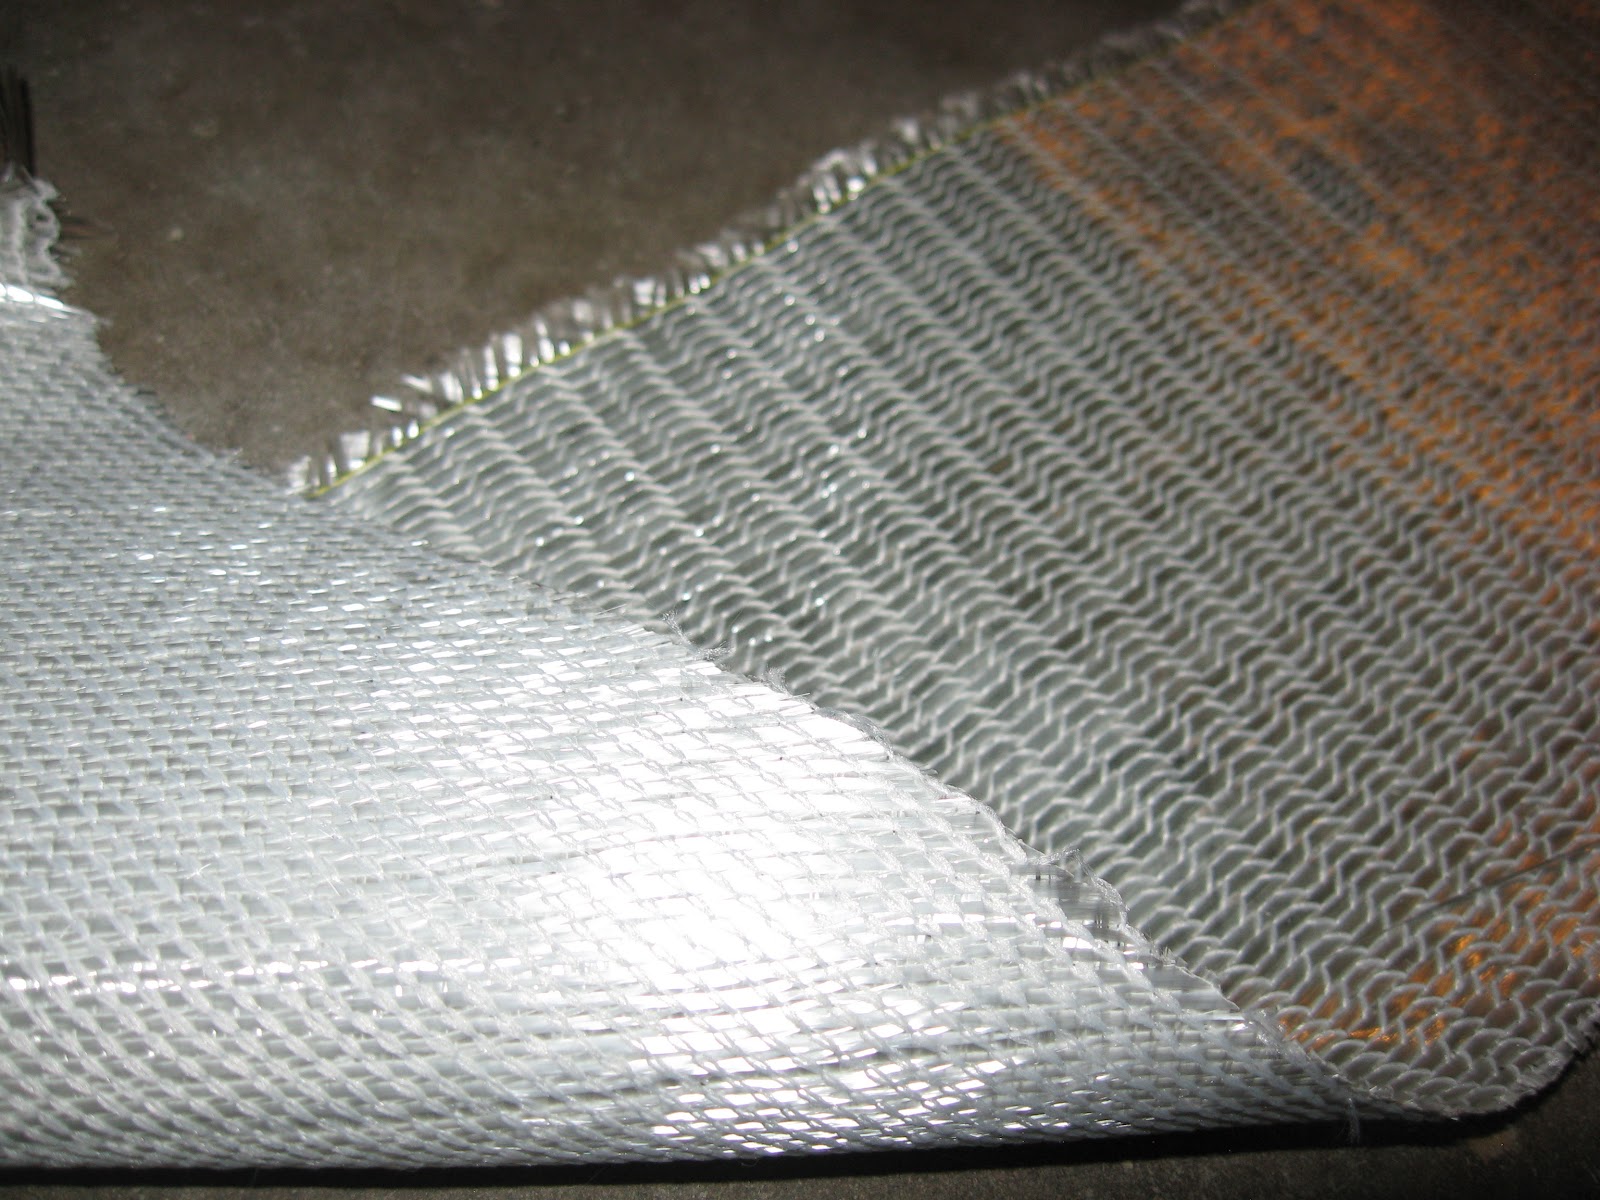
19 oz triaxial braided fiberglass was chosen to reinforce the ski.  The fiberglass will be placed between the base and core and a second layer between the core and top sheet.  The fiberglass is woven in three directions, parallel to the ski, and then two sets of strands +/-45 degrees from parallel.  The parallel strands add strength to the ski flex and the +/- 45 degree strands provide torsional strength.  The fiberglass is purchased in a 25 inch wide sheet.


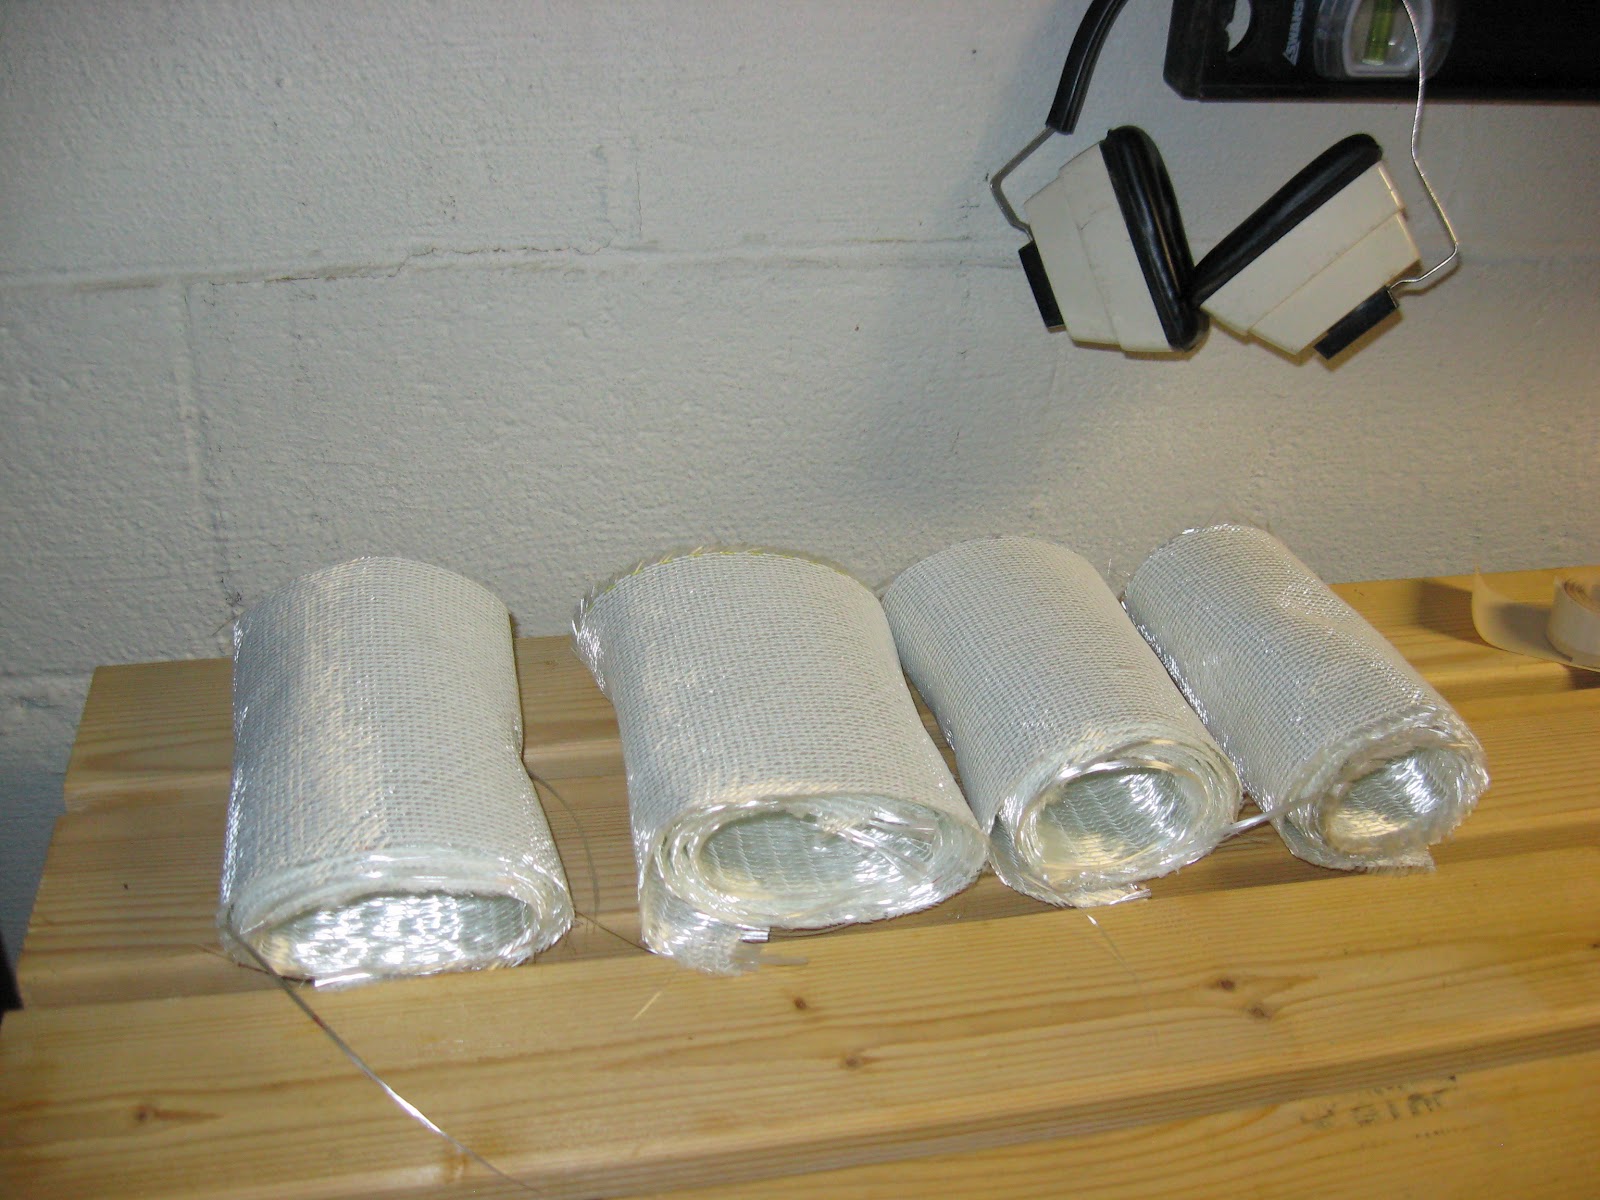
The fiberglass is measured, marked with a permanent marker, and cut into four 6.25 inch wide strips using a good pair of scissors.


The fiberglass is now ready for pressing and can be rolled up for storage until then.

The final layer to prepare is the clear p-tex top sheet.  The top sheet that I am using was left over from last year and therefore was already to cut to size.

 I covered the top sheet with contact paper in order to prevent epoxy from sticking to it during the pressing process.


All layers, other than the graphics layer, are now ready for pressing.


Base Preparation


This year I bought gray Isospeed 7200 p-tex base material.  I chose this material because I had good results with it on the Panjshirs last year.  Also, I was told by my ski shop that this material was easier to grind than a similar Durasurf product.  Additionally, this material is abraded on both sides so less grinding is necessary to get the ski ready for wax.  The edges have a 1.33mm step, are sand blasted, and made from hardened steel.

  
The first step in preparing the base is to cut the base material using the template made earlier.  The base material is easily cut with a razor blade as long as it is clamped down.

Next the edges are clamped and tacked in place using superglue.  As in years past, I did not wrap the edge around the tip or tail, but ran it to the point where the tip and tail radius began.  This makes the edge simpler to manufacture and lightens the ski a small amount.


Once the edges are tacked in place, the base must be covered with tape in order to protect it from epoxy.  The tape also helps to secure the edges in place so they do not shift during pressing.

I chose to use contact paper this year instead of tape because one pass could cover the entire base (vs 3 or 4 tape passes).  Having a single sheet will prevent ridges from forming where the tape overlapped (ridges form during pressing - this means less base grinding is needed later).  Also, the contact paper should be easier to remove than tape because it is a bit thicker.  In order to apply the contact paper, I first set it outside in the ~100 degree sun and softened it up a bit.  Next, I stuck one end in place, then lined up the sheet and began to unroll it onto the base.  Once done, a cloth was rubbed over the surface to ensure a good bond.


A razor blade was then used to trim the excess contact paper from the base.


The base is now ready for pressing.