Saturday, August 17, 2013

The Core

It has been about 4 months since I have done any work on my skis because our second daughter was born in April. She is a wonderful blessing to our family and worth suspending ski building operations for.  I am excited for the day when my children out-ski me for the first time.

"Exactly one day in your life your kid will ski as good as you do. The next day, he'll ski better than you."
-Warren Miller

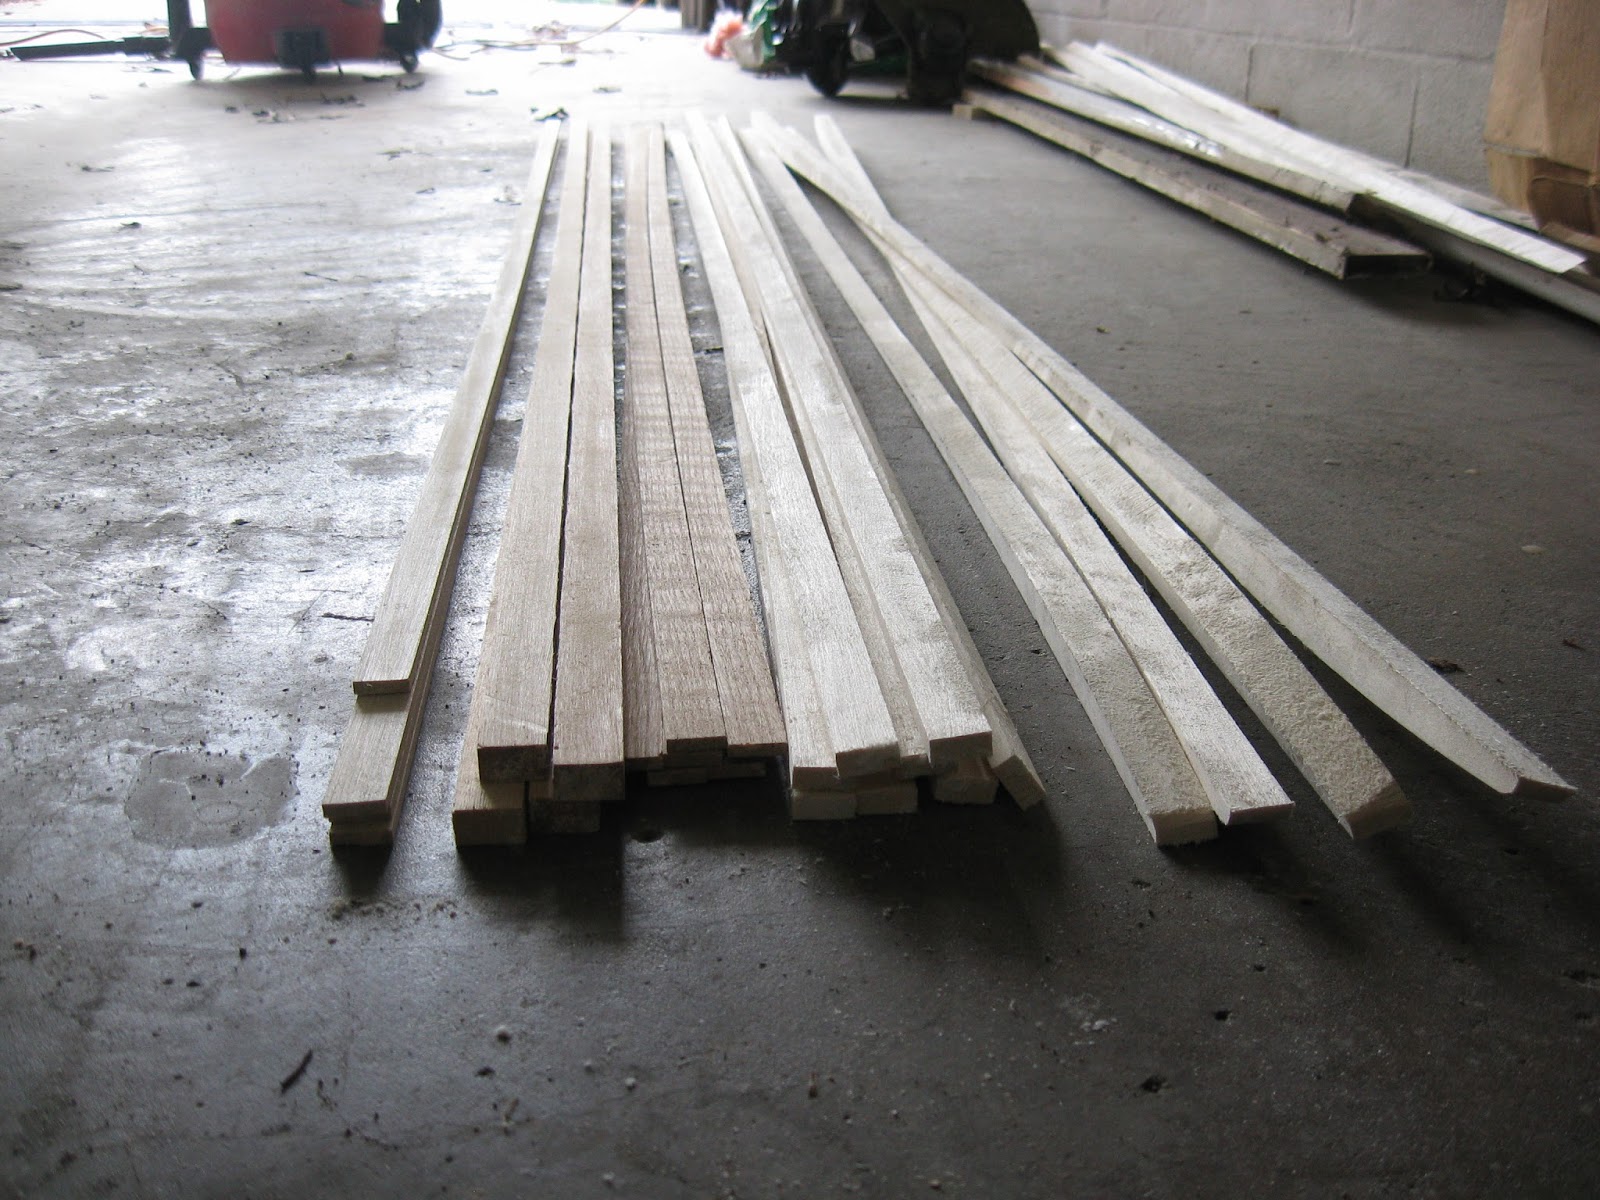
The Aftermath 2 core is nearly identical to the Aftermath gen 1 core except that cedar was substituted for several aspen members to lighten the core.  Also, the oak rails will not be included with this model since they provide too much stiffness.  This will be my lightest core ever.  The core is comprised of 13 members as shown below:


This is my first year using cedar and I had to find a piece with no knots, but this turned out to be pretty easy; all the wood was purchased at Lowe's.  Cutting the core members is fairly straightforward with a table saw - just watch your fingers with the 5mm wide pieces.


Once done, I used my core member template to cut the two curved aspen members for each ski.  Then I used a 50 grit belt on my belt sander to finish the cuts.  Clamping the boards together allows the sander to ride perpendicular to the top of the member.  It also ensures all the members are identical.
 
Aspen Curved

 Aspen Straight 
 
 Oak
 
 Cedar
 
 Poplar
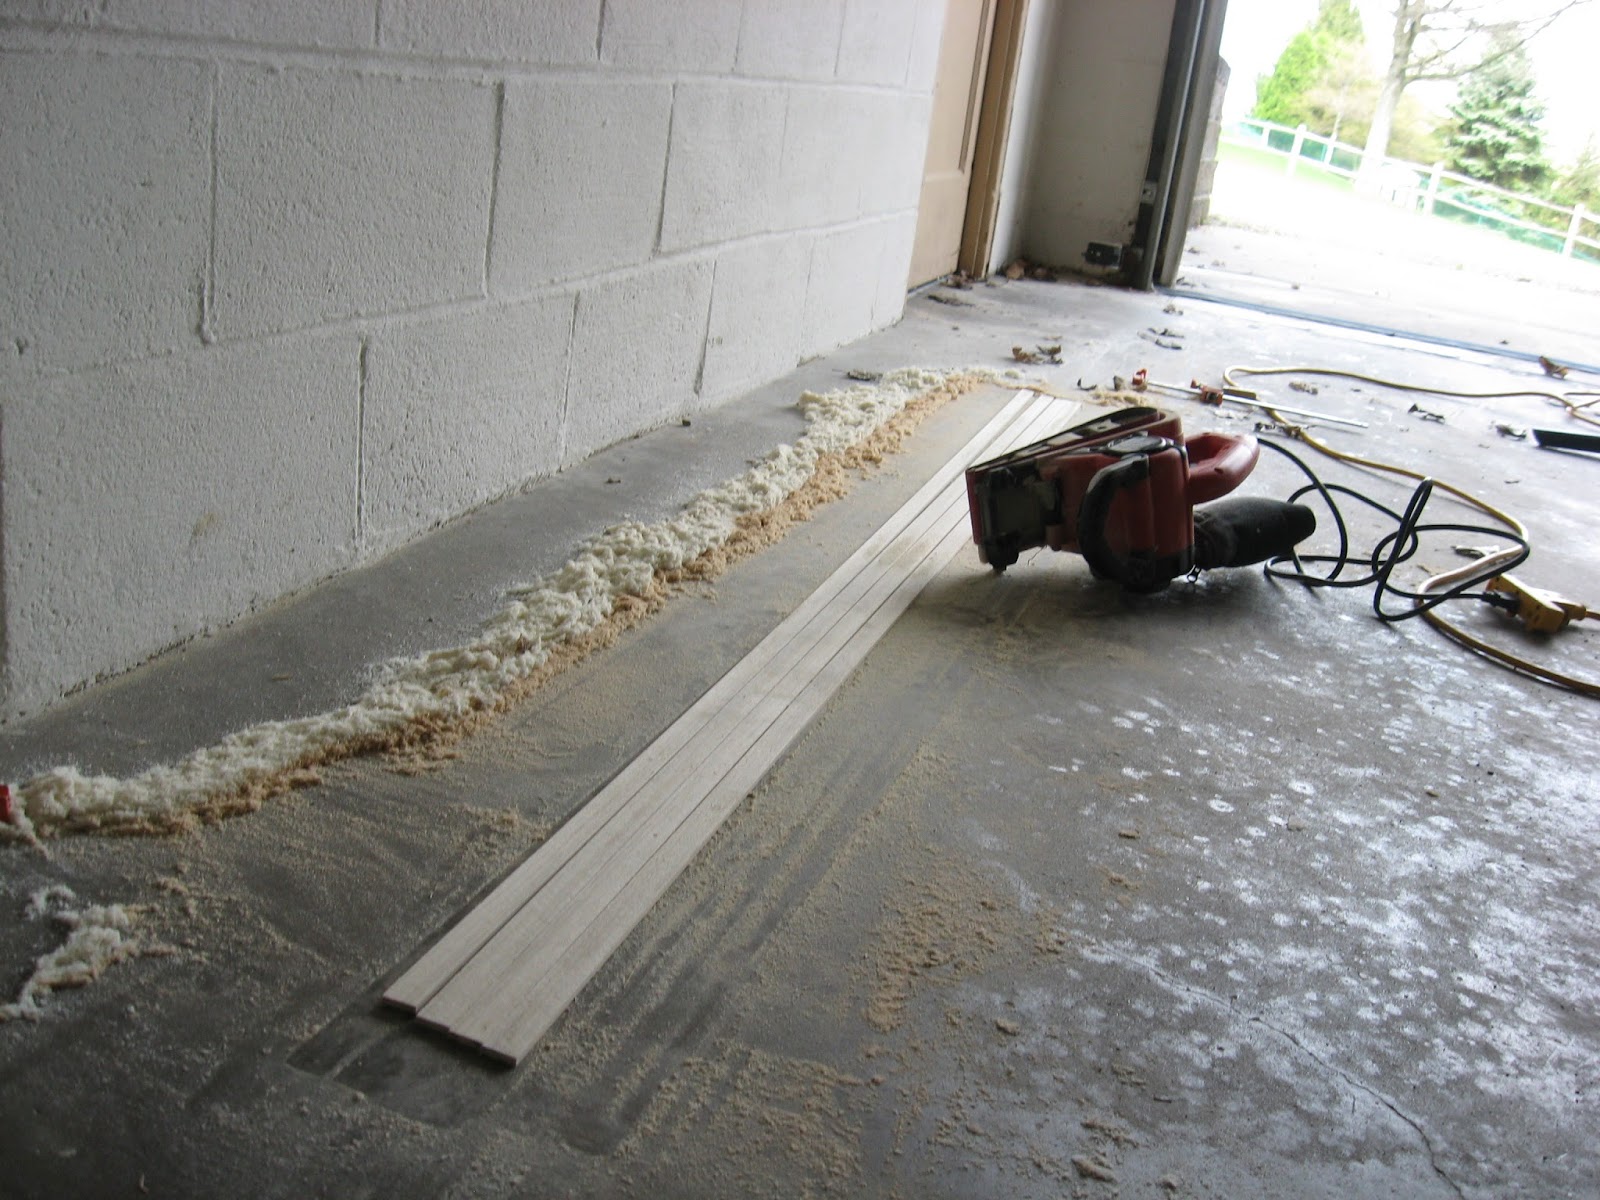


Once the sanding was complete, all the wood was wiped clean with a damp cloth.  Wood glue, clamps, and a paint roller were used to join the core members.


The core is in its final stages now and can be planed down from 19mm to 12mm thick.


Next the core template is used to round the tip and tail of the core blank.

 
The ski is then clamped into the profiling jig and a router is used to machine the core blank to thickness.  The tip and tail are machined from 12mm to 2mm.


Another sanding, this time with 80 grit sandpaper, is needed to smooth out the surface created by the router.  The core is now ready for layup.


Sunday, April 21, 2013

Season Recap

The Aftermaths performed well this year.  I used them 4 days at Jay Peak, VT where the temperatures were -15F during the week.  The woods skiing was great at Jay despite the fact that they were in need of snow.  While at Jay, the tram was shut down due to wind so I was able to use the touring capabilities of the Aftermath.  The link below is a documentary of our trip to Jay.

http://www.youtube.com/watch?v=vb0EftZJQGY


I was also able to use the Aftermaths for some sidecountry skiing in the suburbs of Pittsburgh.  We had some great snow this year and the Aftermaths carried me through it.  I also used them at some local resorts as well such as Blue Knob and Seven Springs.


I also had the opportunity to visit my brother and his wife in Seattle, Washington.  We spent a day skiing at Mt. Baker and another day at Crystal mountain.  I used the Panjshirs [2011] while I was out there; it was my first time on a fully rockered ski, but I adapted quickly for some of the best and steepest skiing of my life.  The video linked below documents our trip to Washington.


The Aftermaths performed well on powder and on groomers. My only complaint is that while the skis are the second lightest skis I have made next to the Goliaths, they are also the stiffest skis I have ever made. The only time the stiffness gave me a problem was spring skiing on groomers because they pushed back when I turned;  however, they have a lot of stability, handle speed well, and are nearly indestructible.
 
The ribbing I made for the top of the skis deviated from the original plan in that it was wider and taller.  Also, I wasn't sure how much the fiberglass would stiffen the ski when formed into the rib shape.  This combination was too much.  I was glad to prove I could make a ribbed ski, but have also proved it is unnecessary.  With some tweaking, such as thinning the core overall, the ribbed design could make a much lighter ski with the proper stiffness.
 
The total cost to build the Aftermaths was $282.29 as broken down below:
  • Epoxy: 72.19
  • Ski Materials: 116.23
  • Wood: 59.73
  • Tooling: 34.14
I spent 43 hours on the skis as broken down below:
  • Design and Procurement: 11 hrs
  • Ski Mold: 8 hrs
  • Ski building: 24 hrs.
I plan refine the Aftermath design in 2013 to decrease the stiffness and lighten the overall weight, making them even better for touring.  Other notable changes:
  • The outer core member cracked last year when I clamped the core for gluing due to the curve of the reverse side cut.  This year I split the outer member into two pieces to alleviate the stress.
  • I replaced the core members left and right of center with cedar to reduce the overall weight.
  • There will be no ribbing on these skis as it is not needed.
  • I will again cover the base and top sheet with contact paper rather than packing tape as it worked well and pealed off relatively easily.
  • I hope to use a clear base material so I can put graphics on the bottom of the ski as well as the top.
  • The pre-tensioned sidewall design (curved inner core member) will be used again.
  • The cap design will be used again in lieu of a vertical sidewall since it removes material that is not stressed and lightens the ski.
The core is already taking shape:


Monday, December 17, 2012

Tuning and Final Modifications

This year I had a buddy at work, Matt, who happened to work at a local shop, help me tune the skis and mount the bindings.  Once this was done I waxed the skis; I used Swix all temperature universal wax.


Once waxed, I sealed the edges with epoxy; I do this because the sanding and tuning process can remove enough material near the edge to expose wood.  The epoxy prevents any water from entering the base.  I also repaired a few areas on the tails that had pulled up during the process of trimming the flashing.  To do this, I put epoxy under the top sheet using a toothpick and then used packing tape to hold the top sheet in place during the repair.


While I was at it, I patched up the top sheets of a few other pairs of skis that had been nicked during previous use.


The final step I took was to cut a small notch in the back of the ski to allow my climbing skins to hook onto the ski better.  I did this by measuring the hook on my skins and then marked the ski with a permanent marker.


I then used a belt sander to grind out the notch; once the notch was cut, I coated the exposed core area with epoxy to seal it.


The skis are now ready for use:


Sunday, October 7, 2012

Post Processing

Once the skis came out of the press for the second time, the flashing needed to be trimmed off and the edges, tip, and tail needed to be sanded smooth.

The flashing is trimmed off using a coarse jigsaw blade.  The metal ski edge is used as a guide for the blade. Cutting through the epoxy, fiberglass, and top sheet generates heat quickly and so the blade must be periodically cooled with a wet washcloth or else it will lose its teeth quickly.   A large band saw would be perfect for this job, but I don't have one.


The edges are trimmed first and then the ski is repositioned to trim the tip and tail.


Once trimmed, a belt sander is used to remove excess epoxy from the edges and ensure a smooth transition exists between the beveled sidewall and the vertical edge.

The pictures below show the tip as trimmed with the jigsaw and then sanded into shape.


Once this is done the contact paper is removed from the top sheet and base.

 
At this point the skis are ready to be ground, sharpened, waxed, and have the bindings mounted.


Below is another of my Microsoft paint patch jobs; unfortunately I didn't hold the camera straight for each photo so the ski looks crooked, but you get the point.